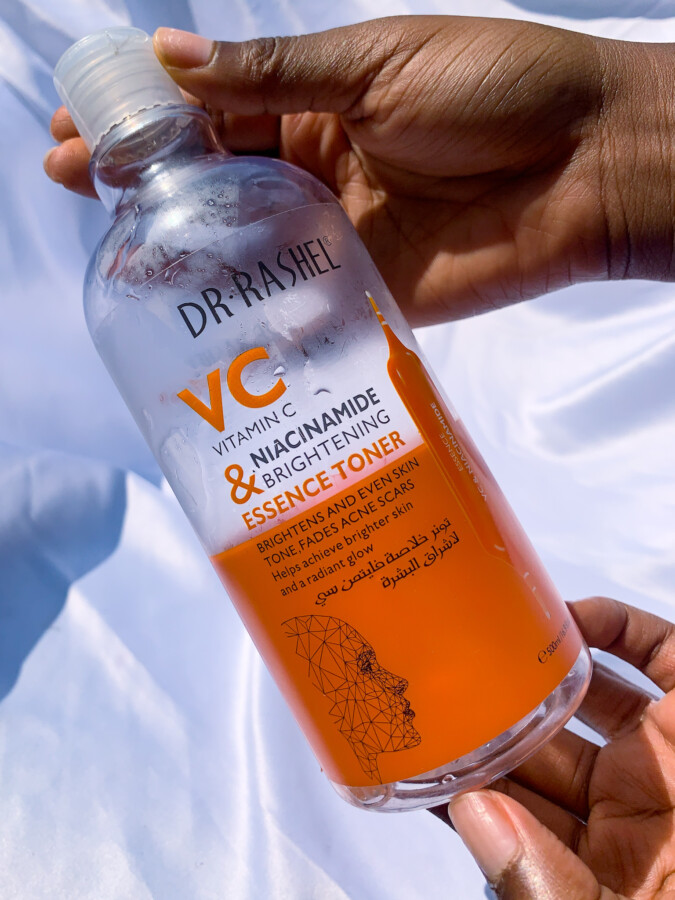
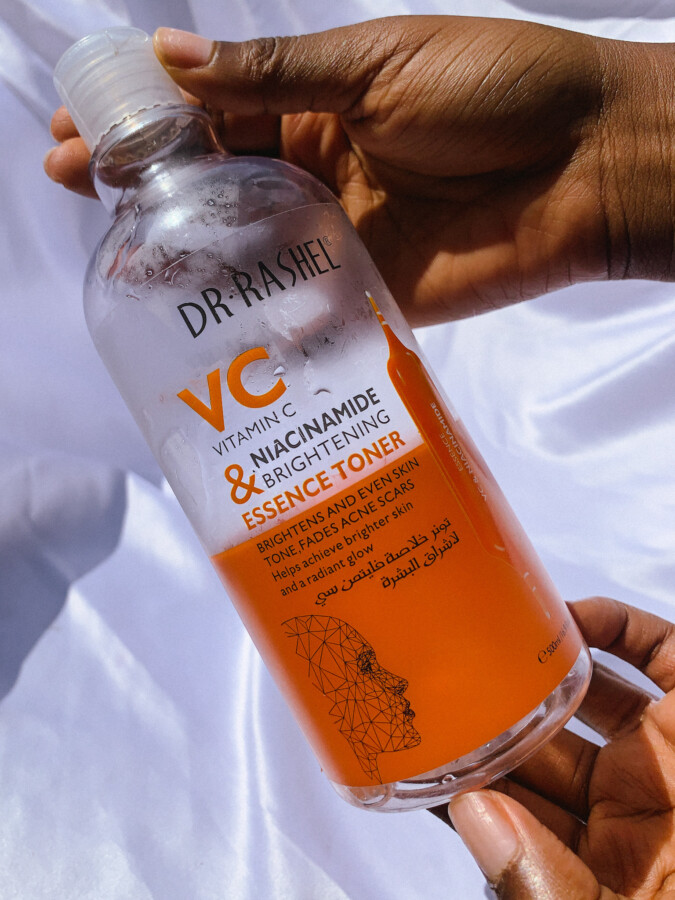
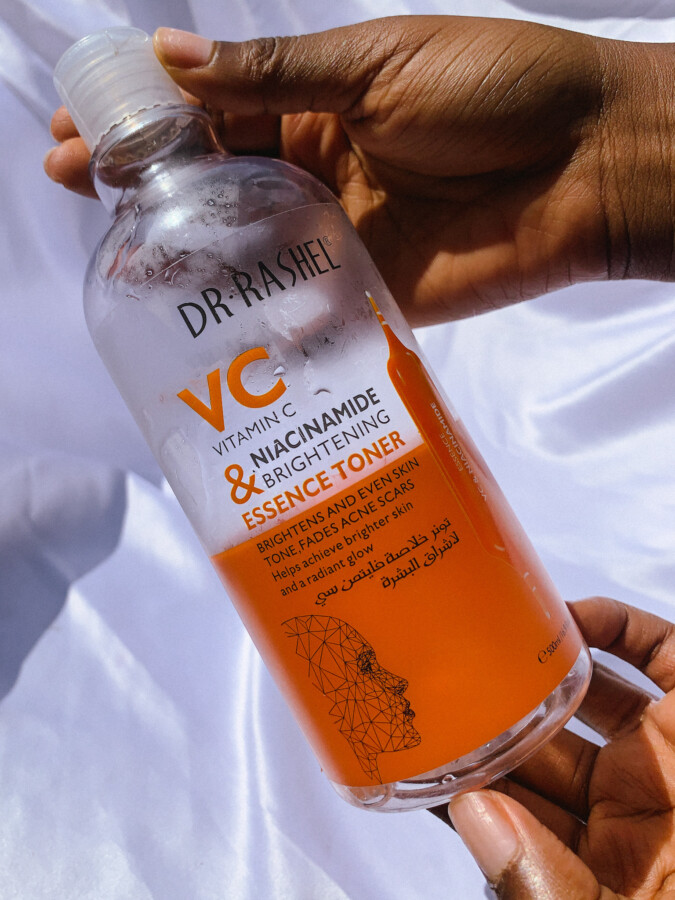
If you’re looking for a toner that doesn’t break the bank and would last a long time, the dr rashel vc vitamin c & niacinamide essence toner is a great choice!
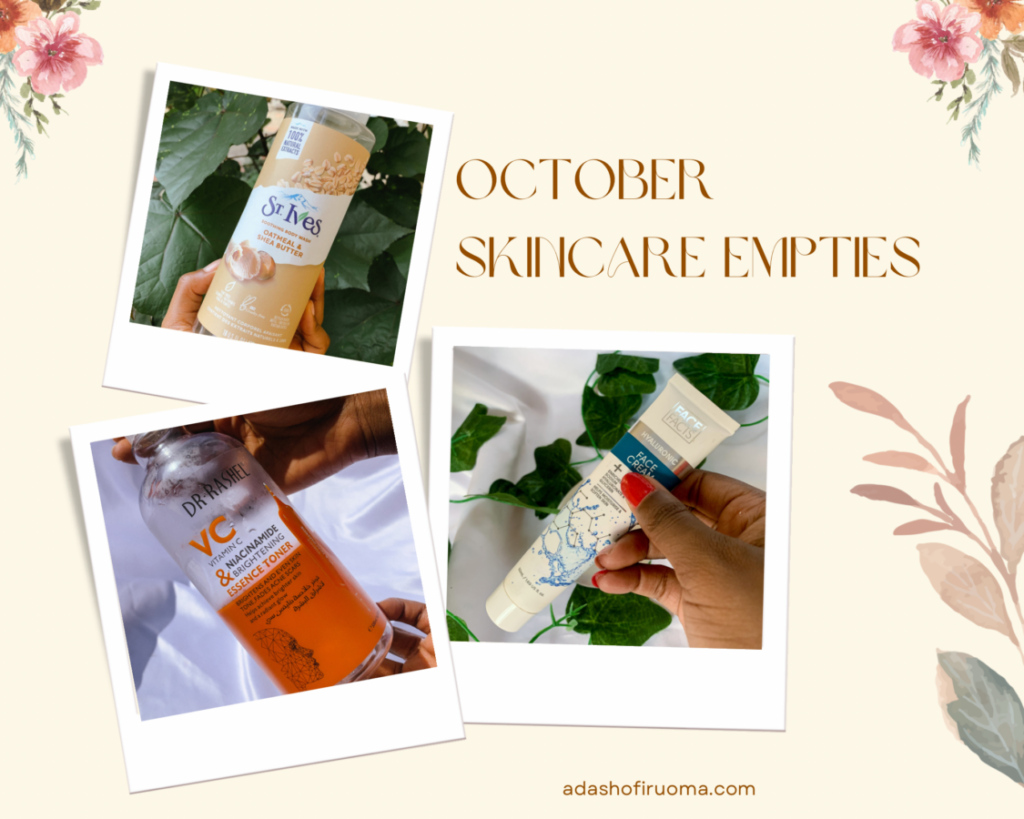
What caught my attention was the price for the size and I decided to try it. It’s part of my October monthly skincare empties after 4-5 months of use!
Is this toner worth it? Keep reading to find out.
Description
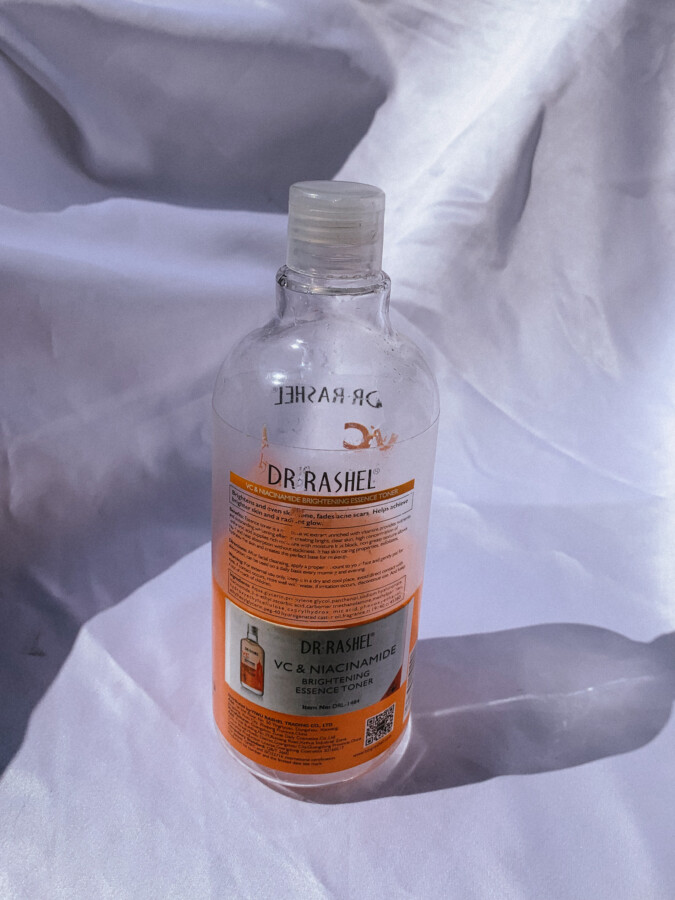
The dr rashel vit C& Niacinamide toner comes in a 500ml transparent plastic bottle. The name and ingredients come in black and orange markings which makes the bottle stand out.
It has a flip cap cover with a pinhole to dispense the product. I love that it has a plastic cover between the bottle and the cap to prevent spillage when the bottle moves. Really thoughtful.
For the product itself, its texture is slightly more viscous than the regular toner, and I guess that’s why it’s called an essence toner.
The essence water is “enriched with vitamins which provide nutrients and creates a bright, clear skin.” It also claims to “exfoliate, hydrate the skin and is a perfect base for makeup”
This toner is so hydrating! The difference you get when applying on dry skin is really remarkable.
It is also not heavy on my skin, non-sticky, and just seeps into my face.
I didn’t get any brightening effect from the claims and I can’t ascertain its exfoliating claims from my experience. My skin’s overall look has improved since incorporating it into my routine, although I’ve also used it in conjunction with other products targeted to my skin concerns so I can’t attribute my skin’s texture to it alone.
Overall, applying the dr rashel vc vitamin c and niacinamide brightening essence toner is easy. It instantly hydrates the skin and is easily absorbed into the skin leaving a supple and plump face.
I would definitely repurchase because it’s huge and cost-effective. Please note that if you want a toner with extra properties beyond hydrating, then this toner may not be for you.
Have you tried this toner?What is your current toner Would you like to try it? Please share with me in the comments
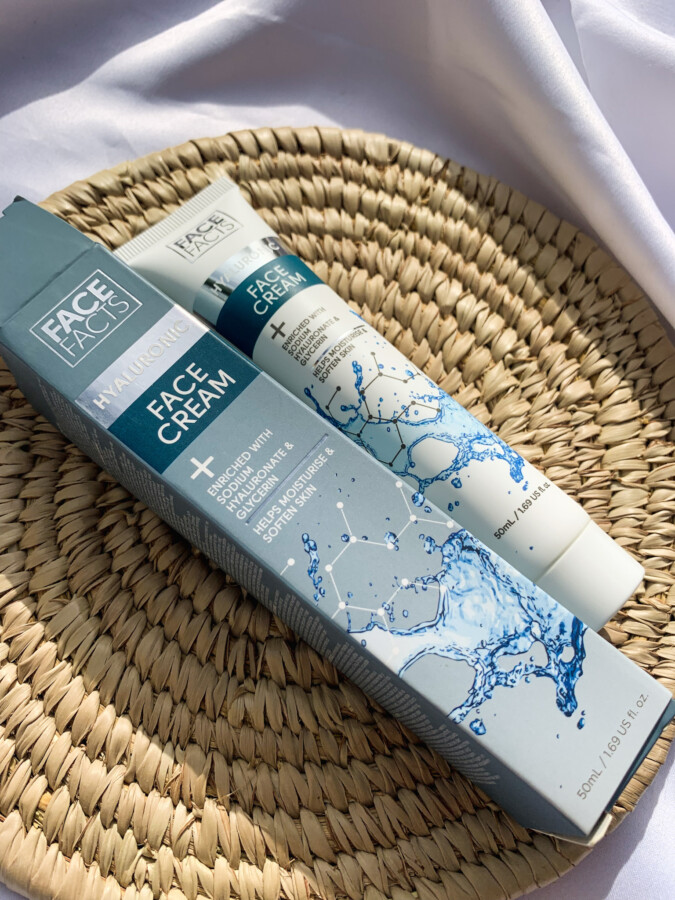
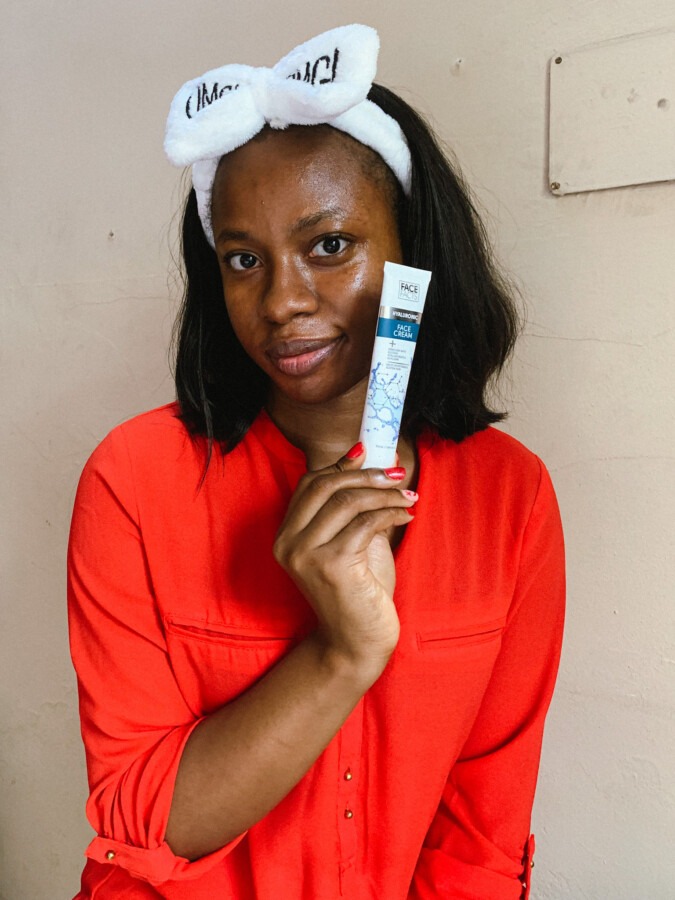
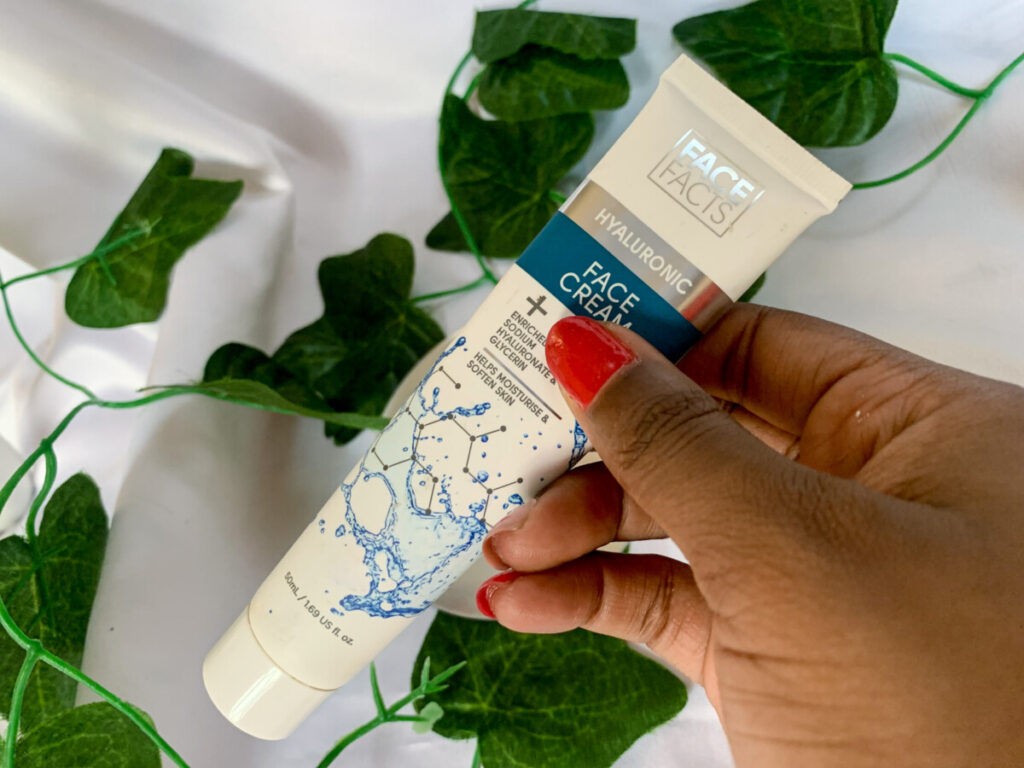
Have you ever used a skincare/beauty product that you wondered why it took you this long to find it? That’s how I felt about the Face facts Hyaluronic face cream.
On my Instagram and Tiktok, I have shared some reasons to try products from Face facts. Not only are they gentle for sensitive skin, but they are also very pocket-friendly.
I exhausted my second tube this month and as usual, this post will contain my review of it. Enjoy!
Description
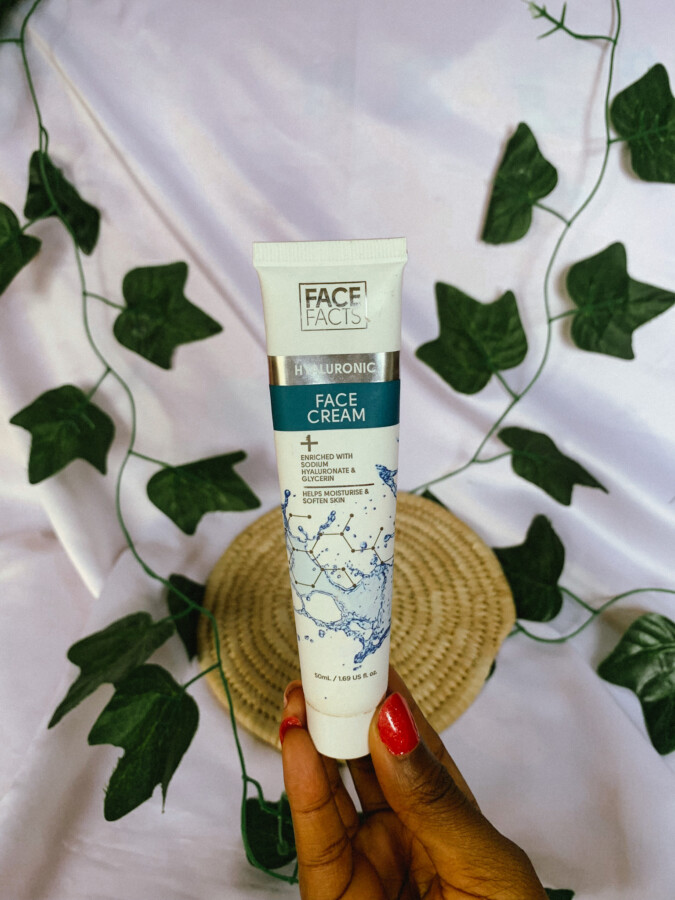
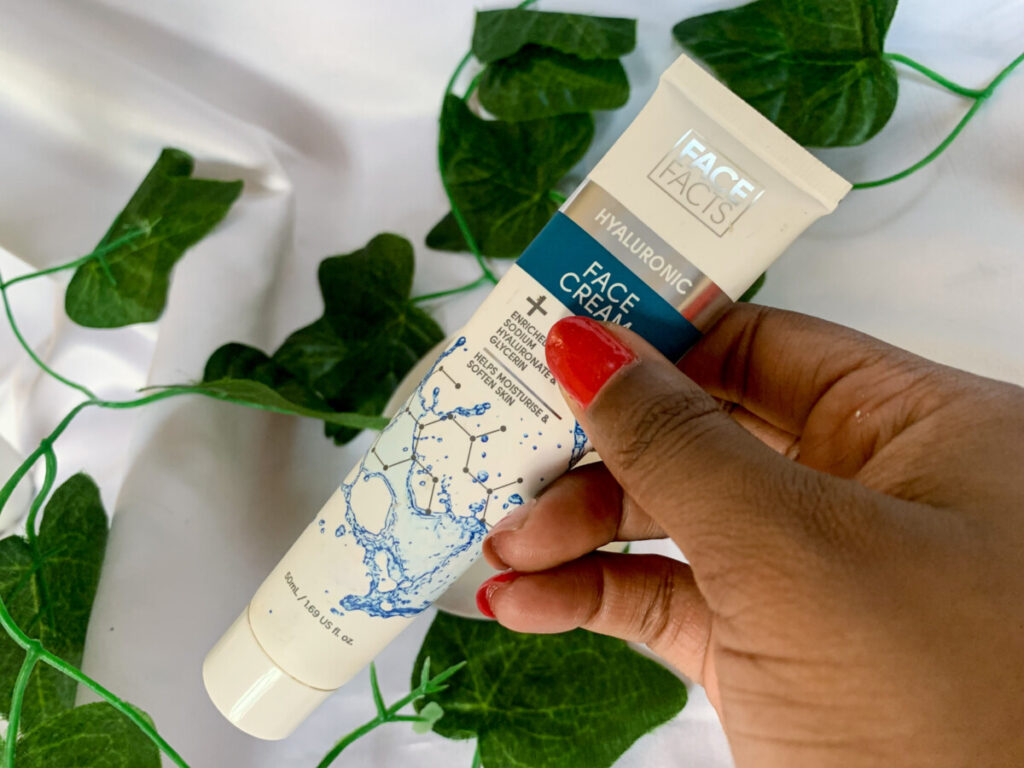
The face facts hyaluronic face cream is one of the products in their hyaluronic set which targets adequate moisture for the skin. This face cream comes in a 50ml white and blue tube. The packaging is dark blue and has a characteristic image of water which I suppose alludes to the moisture.
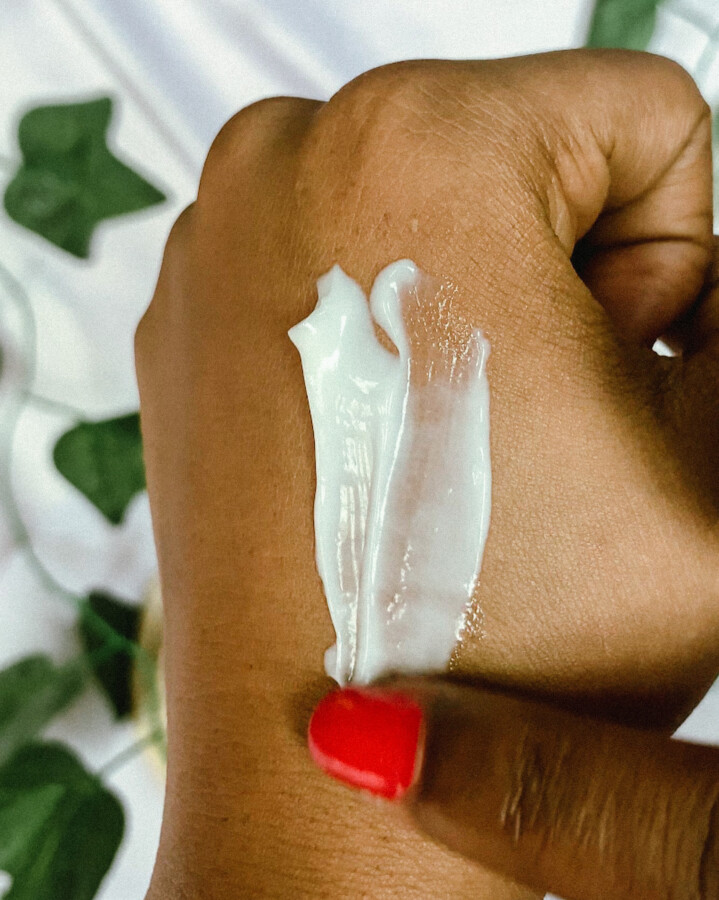
It has a creamy lotion texture. It’s not too thick, but it’s not as light as a lotion.
Claims/ Ingredients
According to their website:
“Our face cream is a match for thirsty skin, and deeply hydrates the skin for that healthy glow. The hero active is Hyaluronic acid, which will help smooth, plump & deliver hyperhydration, and Glycerin for that added moisturization.”
The first thing that got me about this moisturizer is how lightweight it is, despite it being a cream. The hydrating day cream from Face facts wasn’t the best for my oily skin, so this was a huge relief. It has a slight green tea fragrance that I love and is not overpowering. This moisturizer also doesn’t feel sticky and it absorbs easily into my skin.
I love that it was gentle on my skin and didn’t cause me to break out during my use. This cream claims to be hyperhydrating. From my experience, I would say it’s not “hyperhydrating”. It just gives that needed moisturization, but that is it.
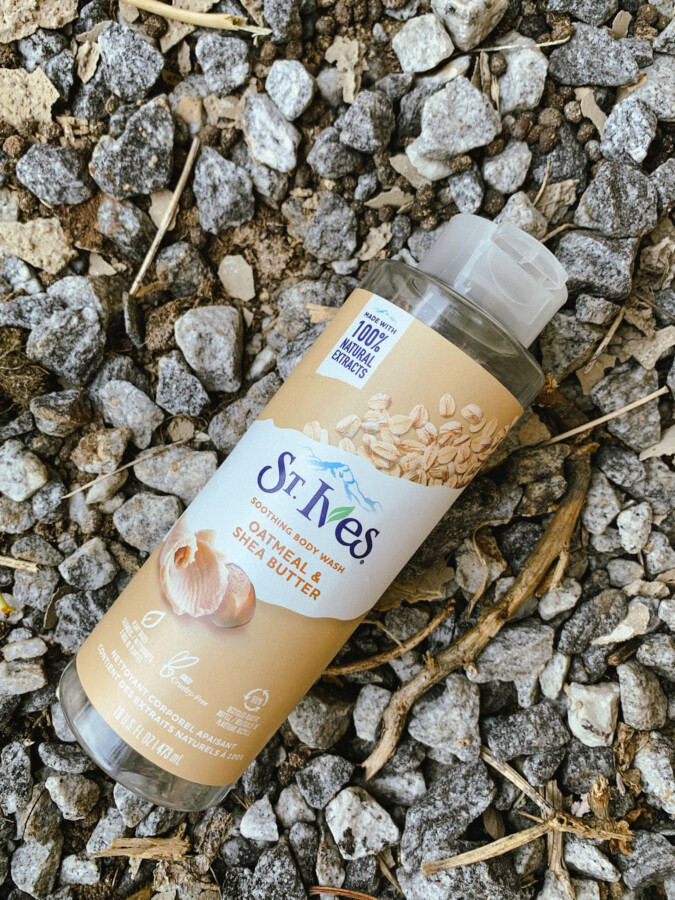
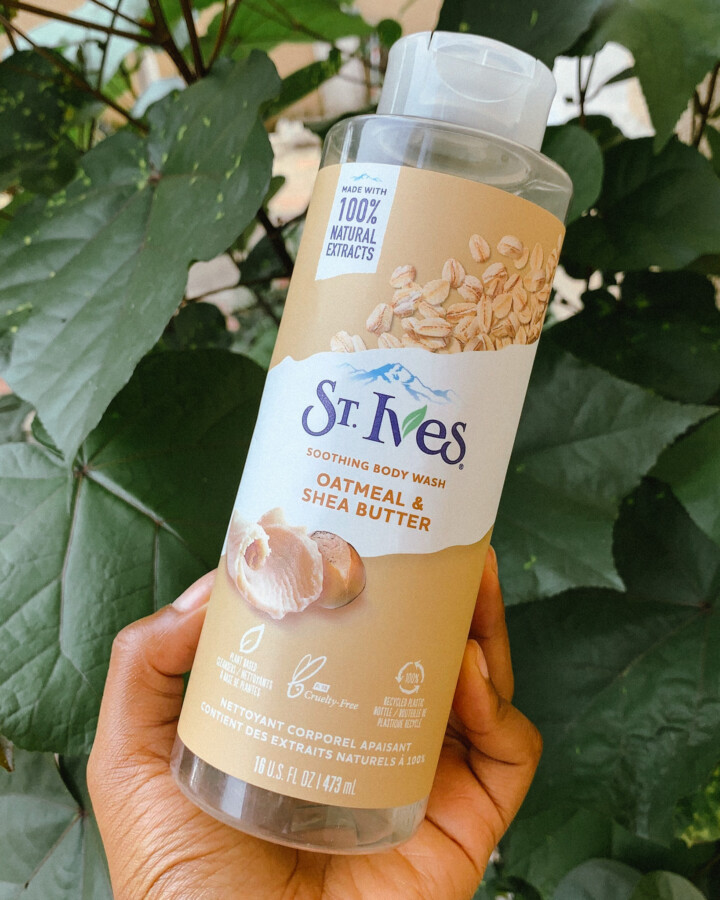
Using a body wash is one easy way to step up your body care routine. I used up the St Ives soothing body wash Oatmeal and Shea butter this month and really enjoyed it. This short post contains my review of it, so keep reading for the details!
Description
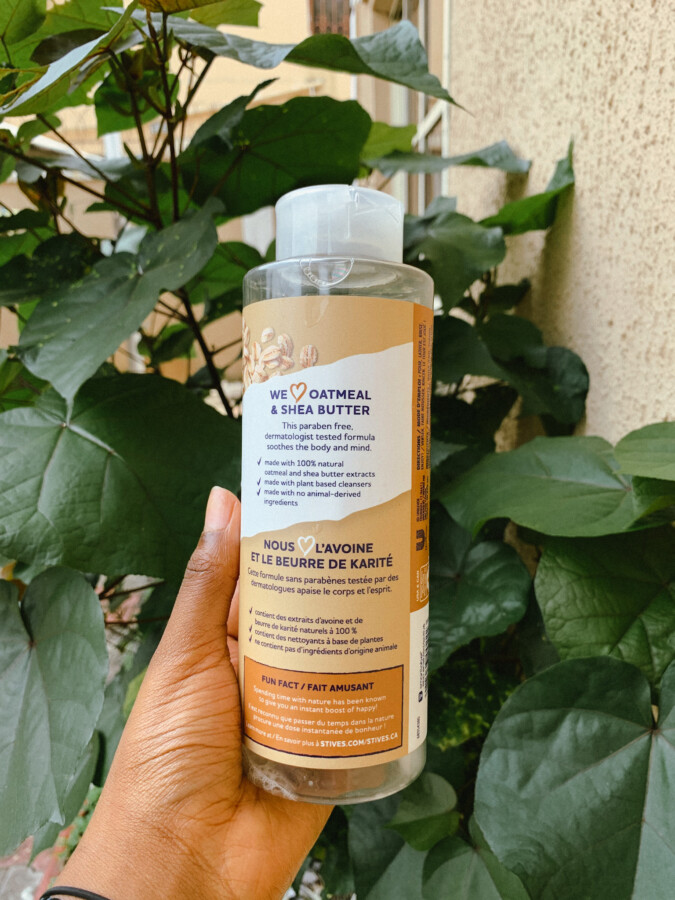
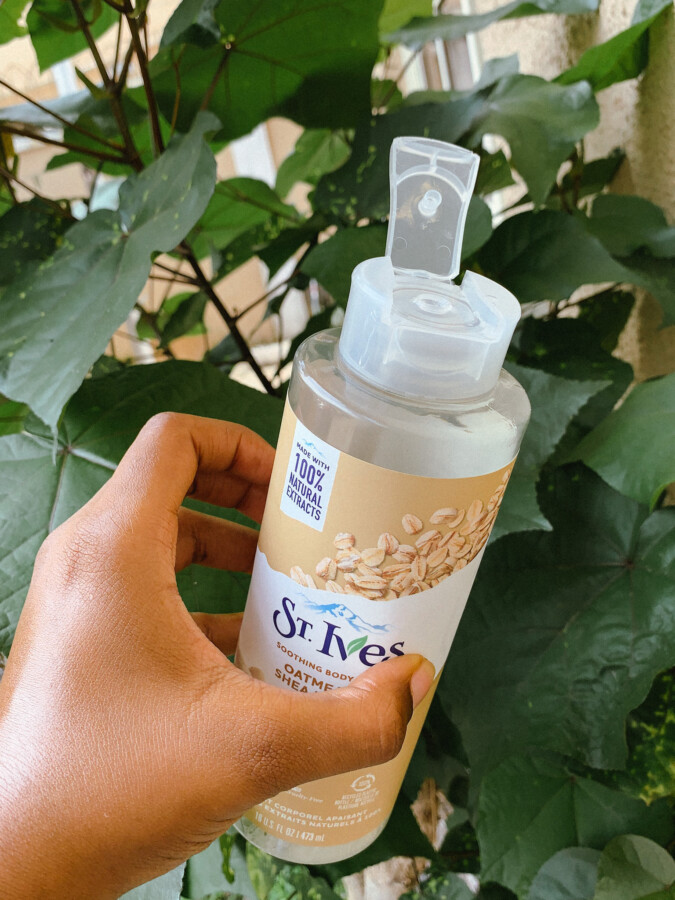
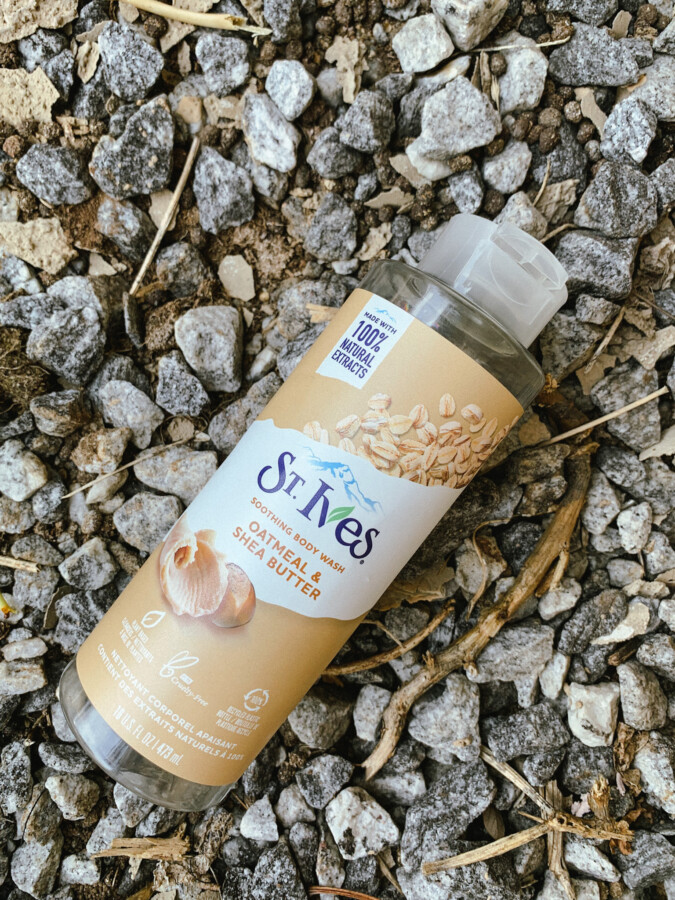
It has 2 sizes and mine was 473 ml. The bigger size is over 600ml. St Ives has a wide range of variants so I’m keeping an eye out to try another from their brand. The plastic bottle is transparent which lets your gauge how much product is still left. I love the brown and cream color of the tag on the bottle representing the star ingredients.
It had a characteristic cream color with a fragrance that wasn’t overpowering. I loved that the fragrance lingered during my bath. The texture is slightly runny.
Claims/ Ingredients
According to their site, the St Ives soothing body wash oatmeal and shea butter is “made with 100% natural oatmeal and shea butter extracts”. They also claim that “it soothes the mind, body, and soul while cleansing the skin with a sudsy sumptuous lather” which leaves the skin feeling smooth.
The star ingredients are oatmeal and shea butter. Oatmeal is known to cleanse and moisturize the skin, while shea butter works as an emollient that improves the smoothness of the skin. These two already give you an idea that this body wash is one to try!
The fragrance is easily one of my favorite things about this body wash. I also love the ease of dispensing the product unto my sponge, by just flipping the cap open. It lathers beautifully as it claims, and a little goes a long way.
True to its claims, this body wash felt moisturizing and didn’t strip my skin. I would notice how smooth my skin felt after a shower and I love that it doesn’t leave that “slimy” feel some bath washes do, despite it being very moisturizing.
Another thing I enjoyed about the st Ives soothing body wash oatmeal and shea butter was that it always left my space with the fragrance. Although the smell doesn’t linger on my skin for long, it’s just soothing to enjoy it during the shower.
How I used it
Apply a sufficient amount on my wet sponge and let it lather before using it on my skin.
Rinse off and repeat the step if need be.
Pros
It’s a big bottle that lasts.
It’s gentle on the skin and leaves it moisturized.
Suitable for all skin types.
Leaves the skin feeling supple and not stripped or tight.
Can be used daily.
Cons
The fragrance doesn’t linger after a bath.
It doesn’t lather if it’s not on a sponge/ loofah.
This product is a yes for me! The only reason I am not repurchasing currently is that I want to try the other variants from St Ives. My score for it would be a 4.5/5 because it’s affordable, easy to use, and leaves my skin feeling moisturized.
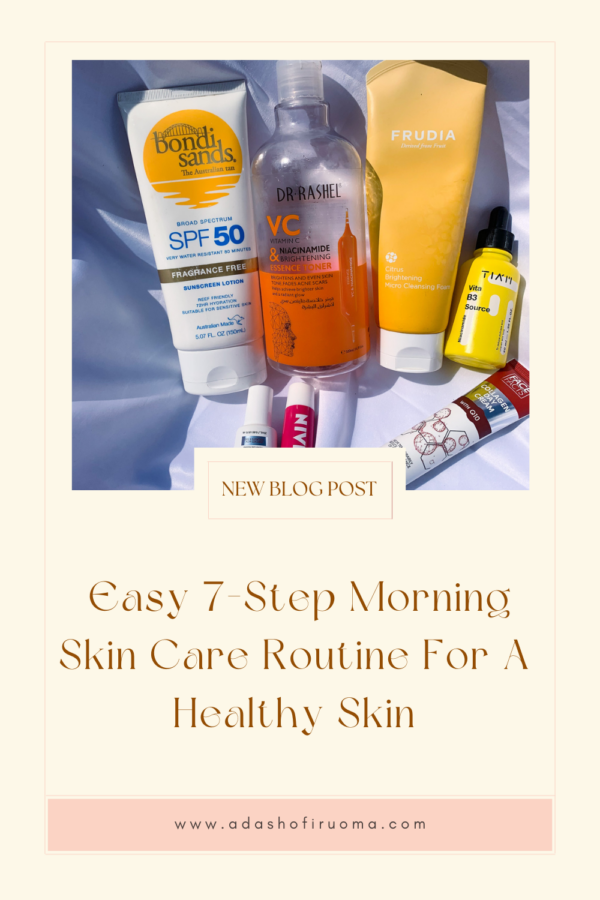
Please tell me I’m not the only one whose routine changes based on my mood. My morning skin care routine keeps changing depending on the season, my budget, the products available, and even my mood.
I’ve been itching to share more of my routines at different stages so that gives you an idea of how to figure yours out (if you don’t already have one). Remember the reason I do this is to share my journey and inspire you to love your skin better!
This post contains affiliate links which means I may make a commission if you purchase through them. It helps keep the blog running, so thank you for your support!
My Current Morning Skin Care Routine Steps
1. Cleanse
The first step of any morning skin care routine is to cleanse.
These days, I’ve seen routines where people can skip cleansing and use a toner after rinsing their face with just water.
I’m not comfortable with that yet, because I live in Nigeria where it is hot and humid mostly. Another reason for me is, I like to clean off the residue from the last night’s skincare routine. Perhaps I would try skipping a cleanser someday in the future. Yet my recommendation, especially if you’re just starting out with caring for your skin, is to have a cleanser in your morning skin care routine.
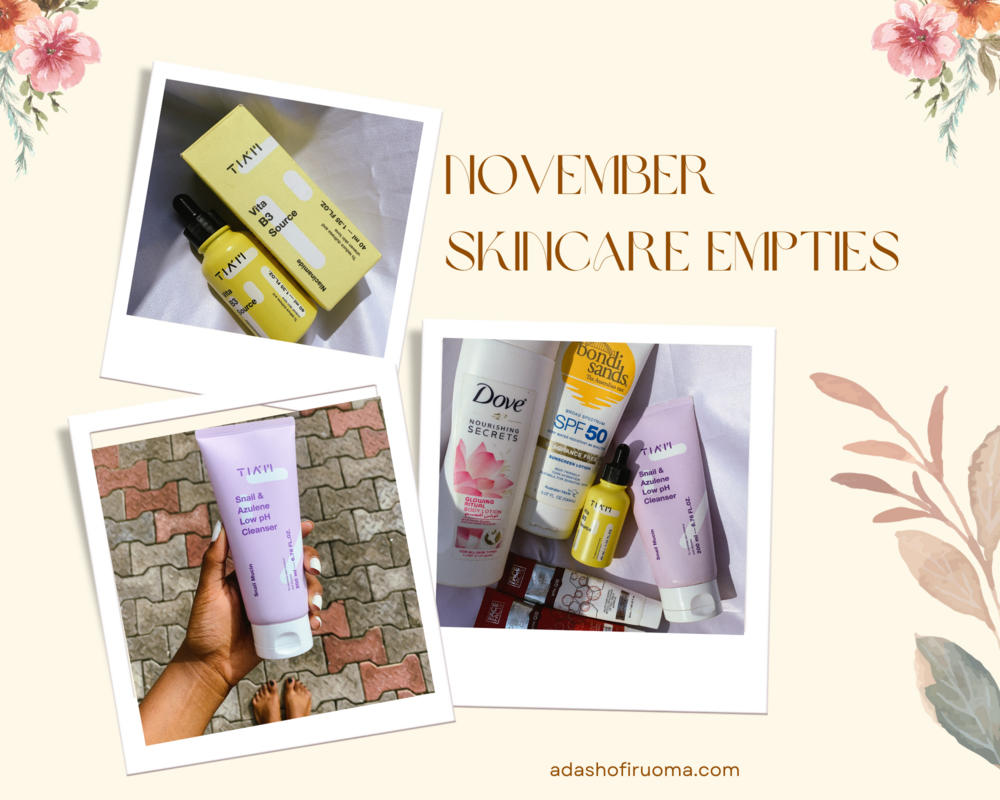
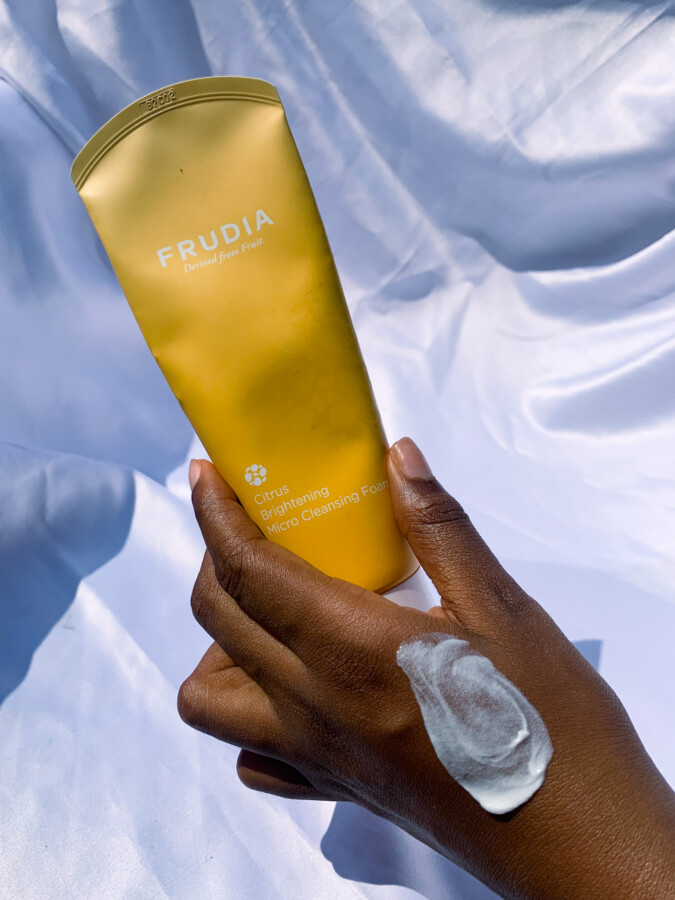
My current cleansers are Frudia’s Citrus Microcleansing cleanser and Tiam’s Snail & Azulene low-pH cleanser which I have reviewed in the post below.
I prefer to use Frudia in the morning because it feels like a deep cleanser. Sometimes I use Tiam’s because it’s way more gentle.
How I use
Wash my hands with my body soap- always try to start with clean hands.
Wet my face- please avoid using hot water on your skin.
I use a dime-sized amount of product.
Rub the product in my palms.
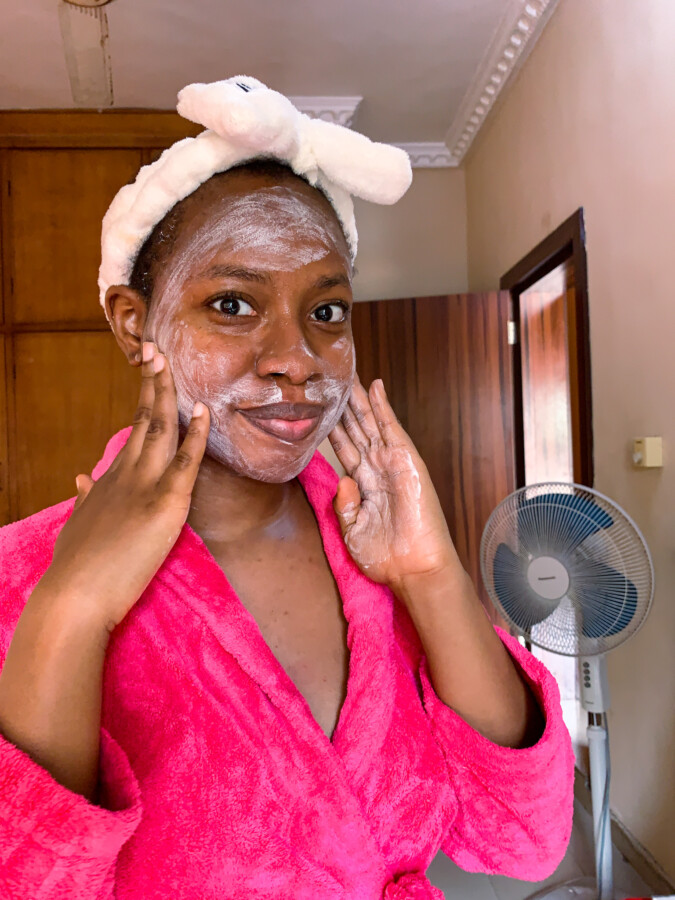
Massage my face for about 60 seconds (this is hard to remember if I’m rushing, but some days I stick to it- it’s a great hack to get the most out of your cleanser).
My next step is to tone. A toner helps remove any leftover dirt after cleansing and balances the pH of your skin. It is one of the “negotiables” regarding skincare, but it can be a great addition.
Toners have evolved to have extra properties like hydrating or exfoliating which add some extra touch to your morning skincare routine (and evening routine too).
My current toner is Dr. Rashel Vit. C and Niacinamide essence toner. This toner is the affordable skincare lover’s dream. It’s a huge (500ml) product and does a good job of hydrating. I would say it hasn’t done much for me in terms of the ingredients used, but overall it’s a great product.
How awesome is this shot? I love it!
How I use
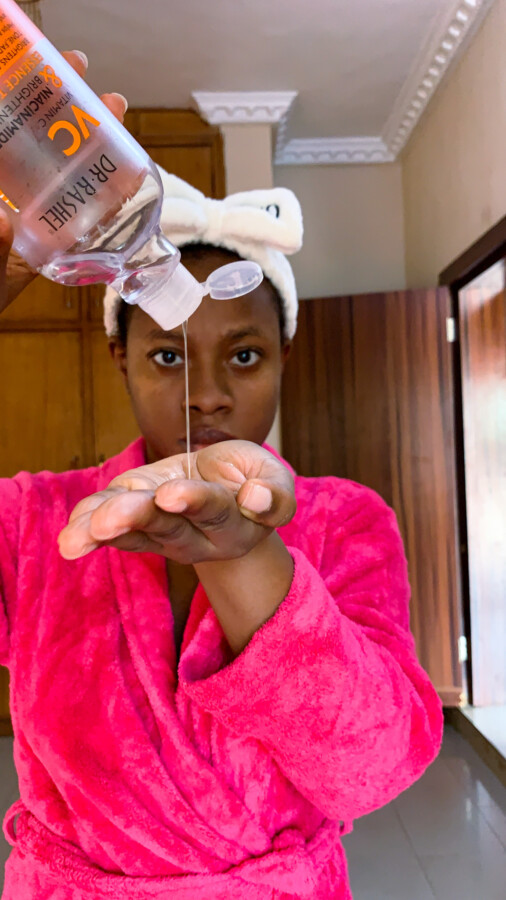
Apply a generous amount of toner to the palms (or cotton pad).
Apply the toner to my damp face ( This hack is the best for products with hyaluronic acid, but I love doing it for any toner)
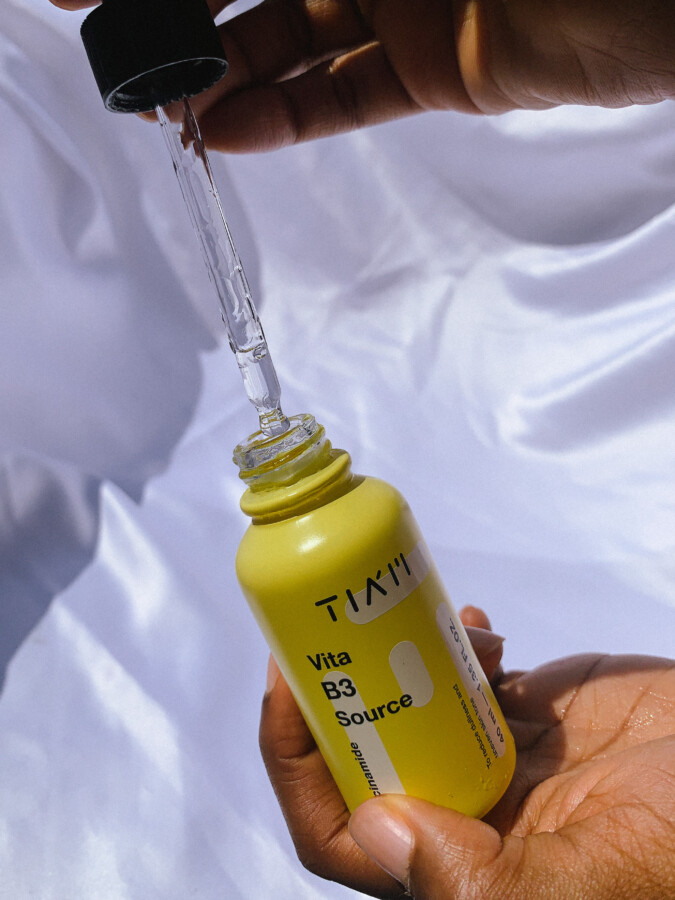
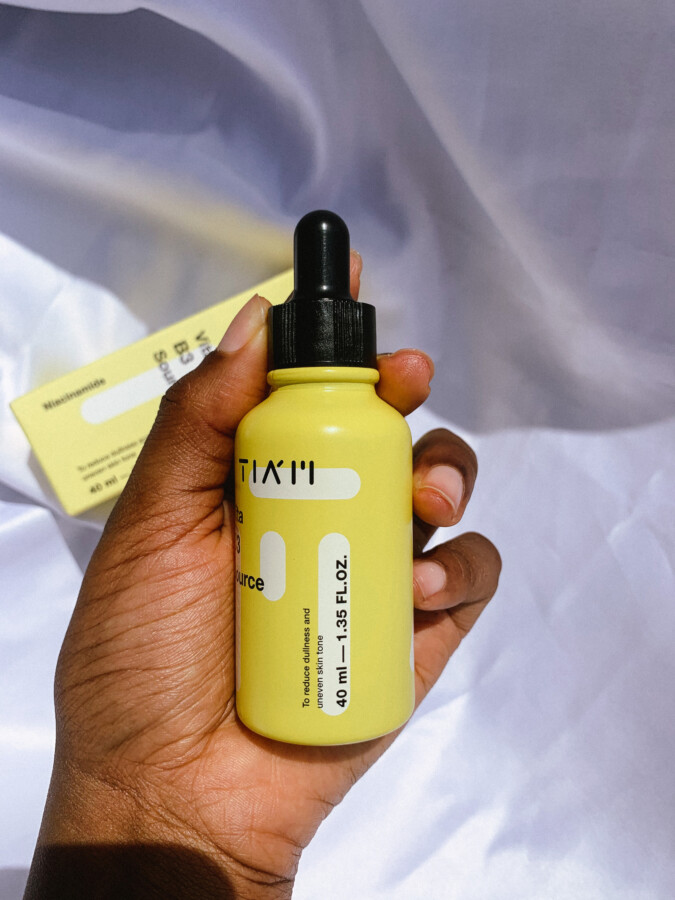
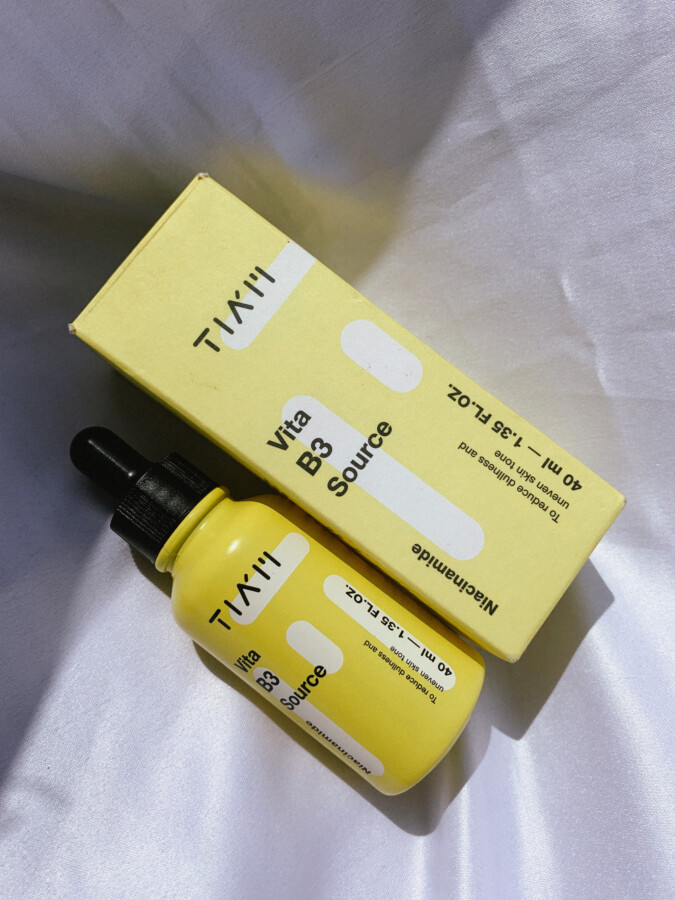
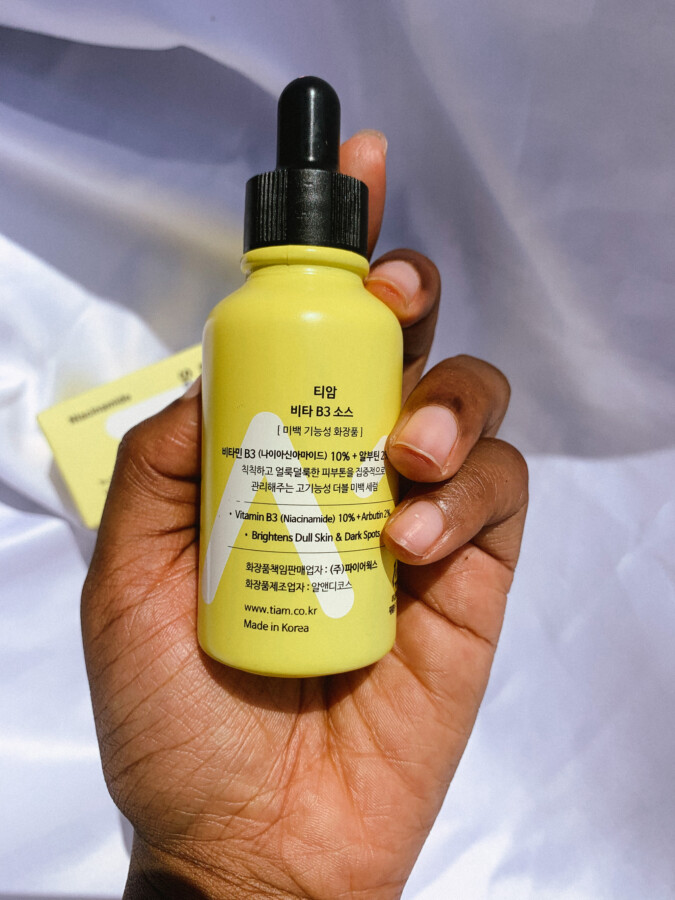
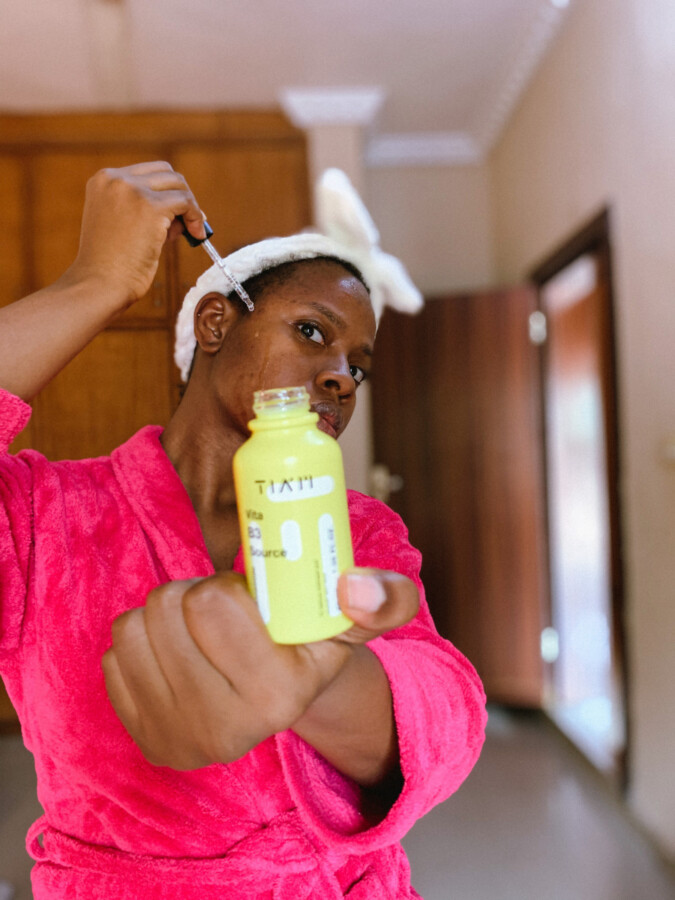
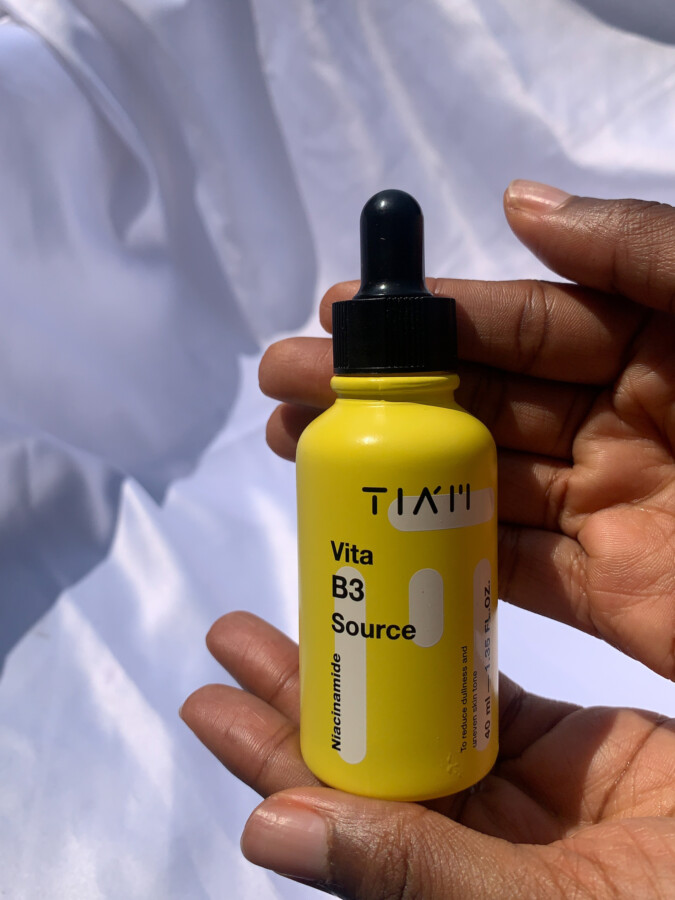
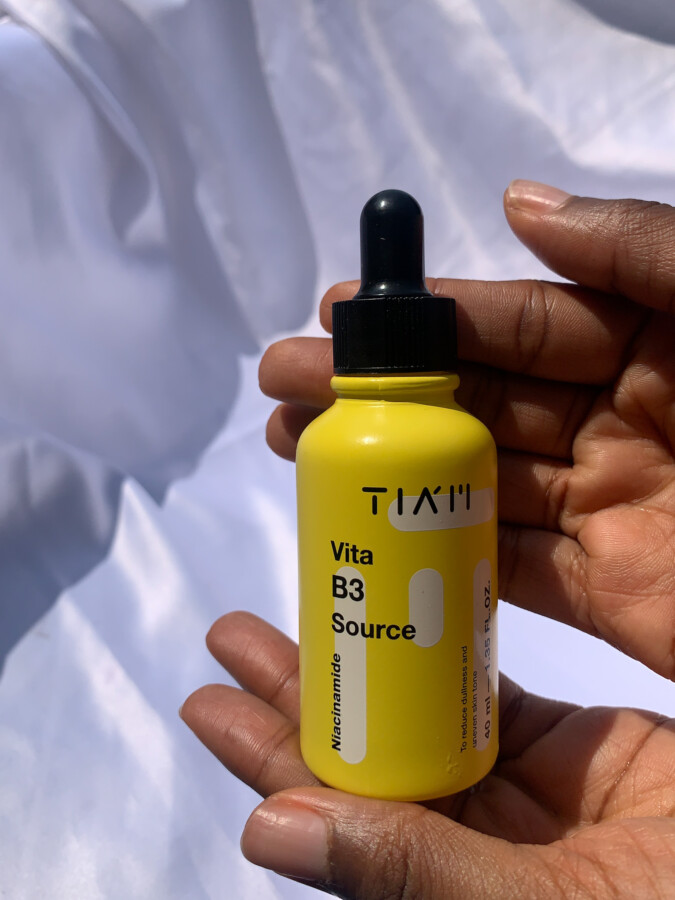
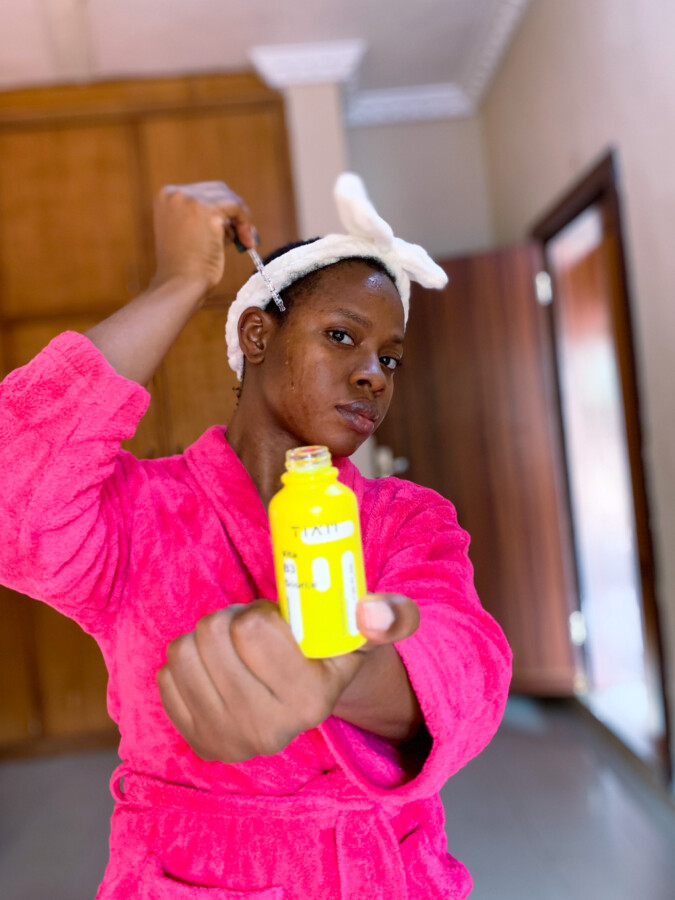
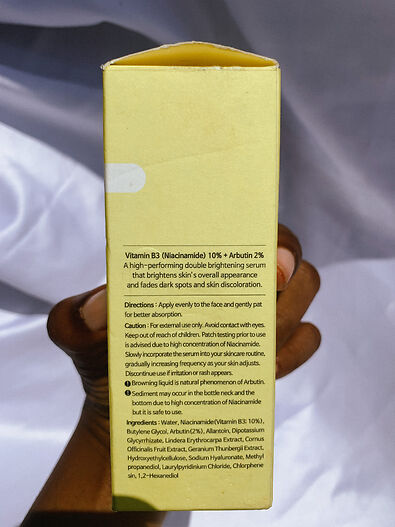
Usually, my next step would be to moisturize after my toner, but I’ve been trying the Tiam Vita B3 source serum. It is my current serum for both the morning skin care routine and evening routine and I’ll be reviewing it soon.
This is where I shamelessly plug my newsletter so you can see a review when it’s up on the blog! Subscribe to the blog so you don’t miss out on updates, alright? See you there!
[mc4wp_form id=”265″]
How I use
After my face is dry from the toner I use 2-3 drops of the serum
Massage it into my skin- face, neck, and ears.
Recommended Serums
The Ordinary Lactic Acid 10% + HA
Dr. Rashel Youth Revitalising Hyaluronic Acid serum
I started using an eye cream because of my eye bags from school. Eye creams are debatable in the skincare community. Okikiola Asher, @skinpriest on Instagram talked about its importance recently. Some people say eye creams are overrated moisturizers, while some swear it makes a difference.
I haven’t used my eye cream consistently enough to give a fair verdict, but I would be the girl who still applies it, overrated or not! The skin around my eyes feels hydrated due to my eye cream habit, so let’s see if I can keep up this time.
My sister commends the eye cream she uses and after 1 use, my mum decided to get one. One thing to note is that eye creams (like every other skincare product) come in different grades due to the quality of ingredients/ actives used. The result you get from one product could vary significantly from another brand.
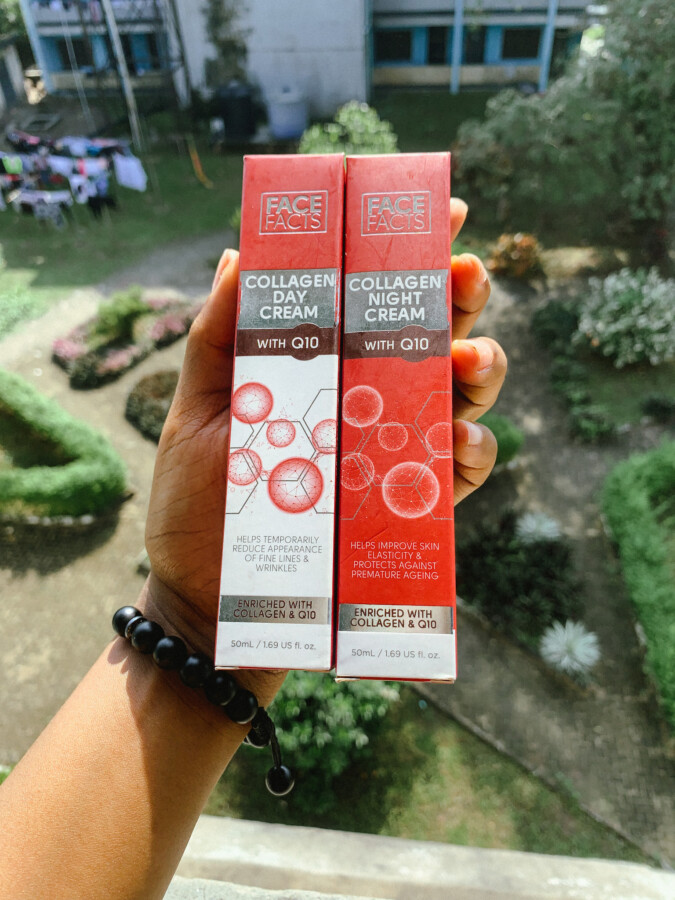
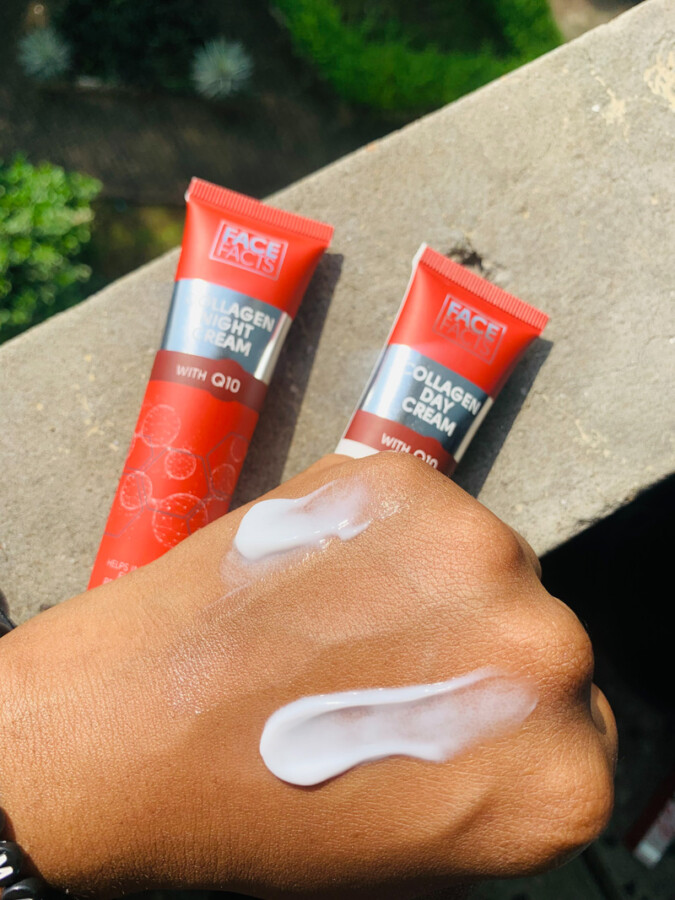
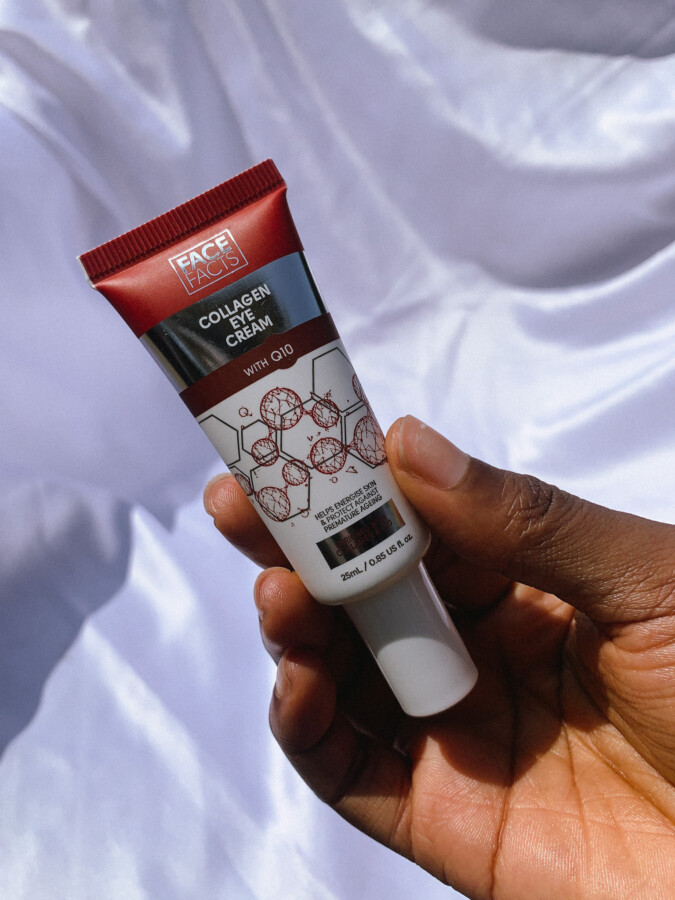
My current eye cream is the Facefacts Collagen with q10 Eye cream. I use this product both day and night.
How I use
Apply a pea-sized amount on the back of my hand.
Apply on my eyelids and inner corners of my eyes and below.
Use your ring finger or pinky finger to dab. Do not tug at your eyes as it is a thinner skin area than the rest of your face.
A moisturizer helps seal in the moisture from your skin care products and reduces the level of transepidermal water loss. In simpler terms, it keeps your skin hydrated, plump, and able to withstand environmental stress.
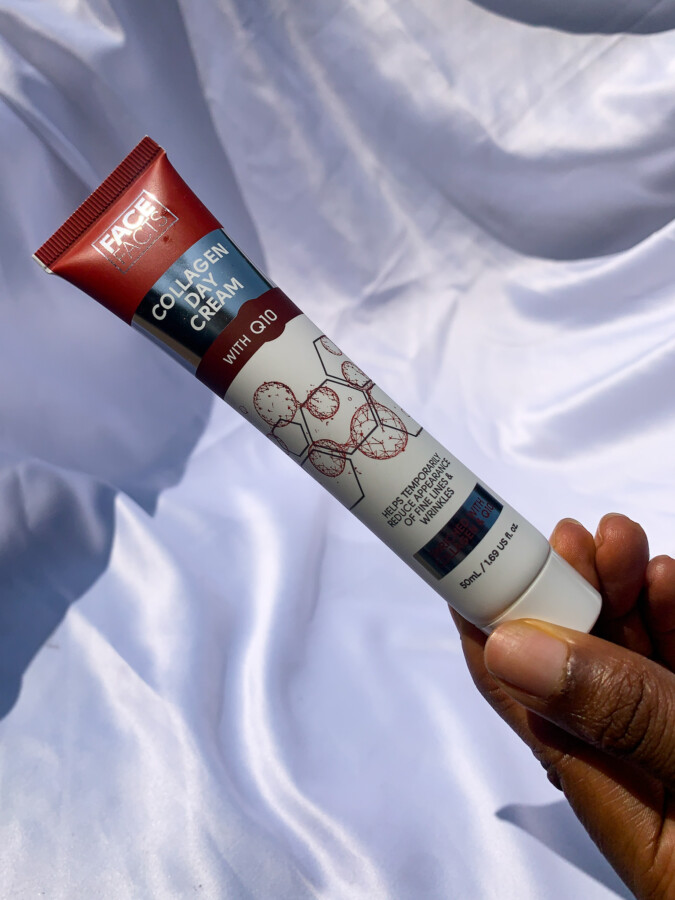
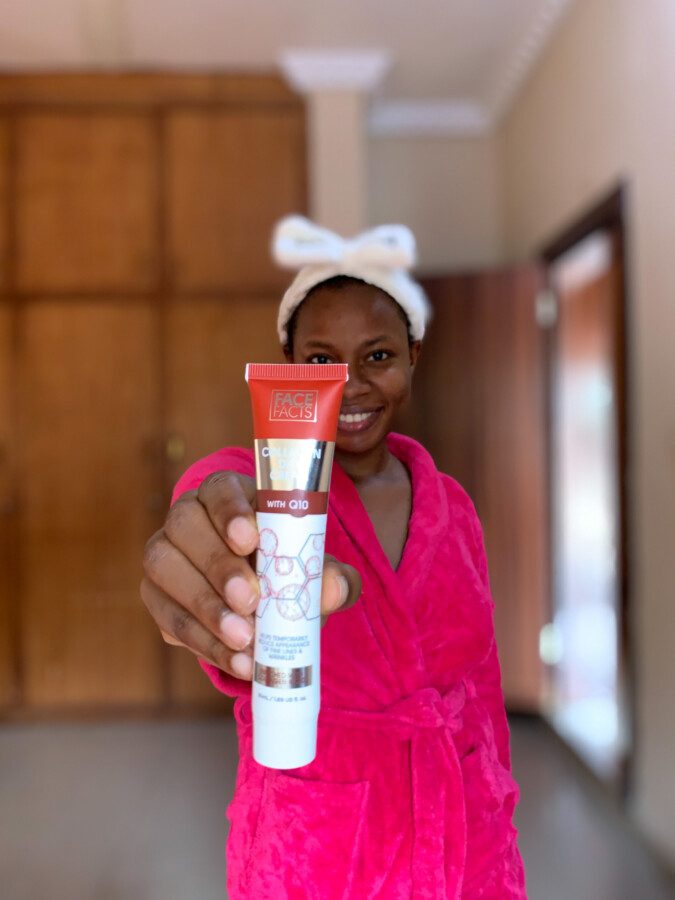
I’m currently using the Face facts Collagen with q10 day cream. This looks so much like their hyaluronic cream but I would still share my thought on it.
How I use
Apply the product on the back of the hand
Spread evenly across the face
Massage it to spread evenly on the face, neck, and ears.
Sunscreen is the last non-negotiable step of any ideal morning skincare routine. Trust me, if your routine only has a cleanser, moisturizer, and sunscreen, you are good to go!
Sunscreen protects you from sun damage to your skin. My only problem with sunscreens is the cost. You can barely find sunscreens that leave no white cast and are not pocket-jarring for the size.
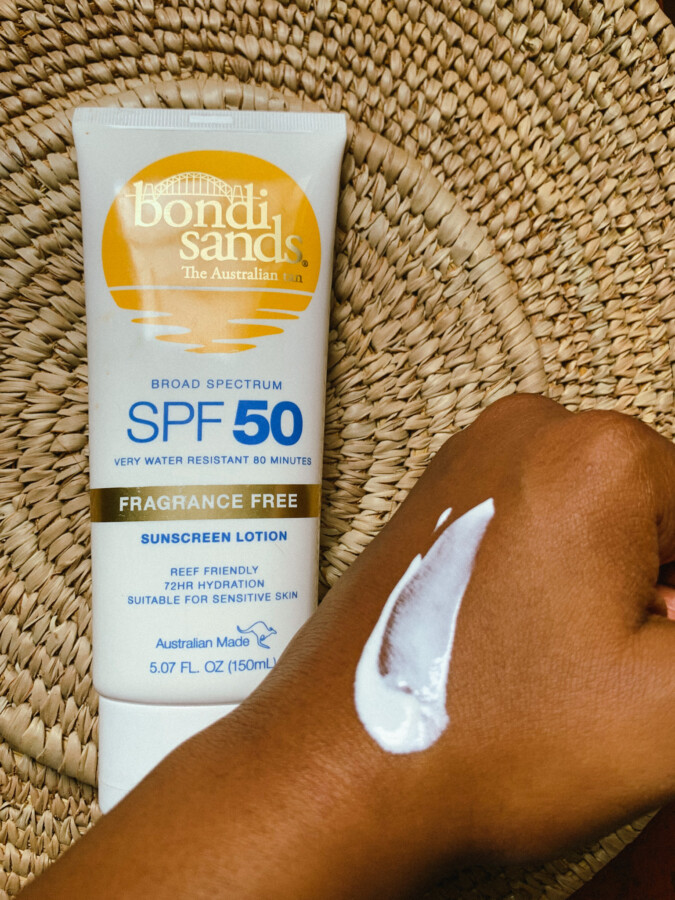
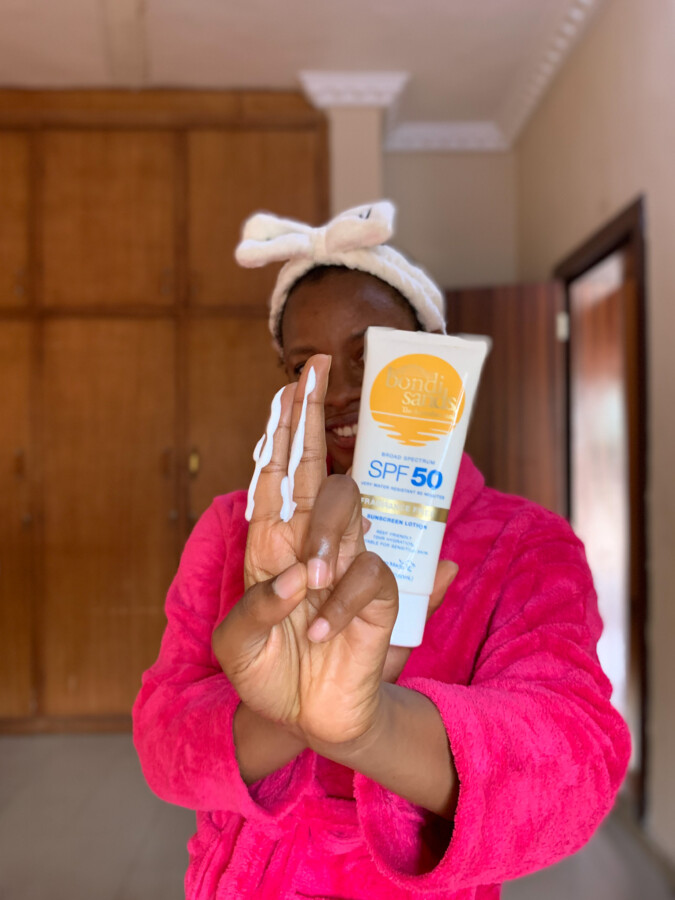
My current sunscreen is the Bondi sands daily moisturizing SPF 50. I talked about it in my last blog post and the review is there as well.
It’s easy to neglect your lips, but please don’t! Lip care does not need to be fancy or expensive to keep your lips moisturized and not looking chapped.
I use a foolproof DIY lip balm recipe from Torera George and the watermelon variant of Nivea lip balm.
How I use
Apply DIY lip balm with the index finger
Follow with Nivea’s lip balm- mine has a colored tint that I love!
A morning skin care routine can be simple with just a cleanser, moisturizer, and sunscreen. If you’re like me and need some extras, then my routine would be helpful!
Cleanser
Toner
Serum
Eye cream
Moisturiser
Sunscreen
Lip balm/gloss
FAQs
1. Can I repeat the same step for my nighttime skincare routine?
Yes, you can! The only thing missing would be sunscreen because it’s nighttime.
2. Can I use a towel to dry my face after cleansing?
Yes, you can.
The thing to note is that this towel should be solely for your face and cleaned regularly to avoid it causing breakouts.
I recommend that you use paper towels which you can dispose of and is more gentle on the face.
Personally, I prefer to air dry or use a paper towel.
3. Do I need different products for the morning and evening?
My biased answer is Yes and no. If you have just one cleanser and moisturizer, those suffice until you can afford another.
You can also have a different cleanser and moisturizer for your nighttime skincare routine. There are also some products that are best used at night like retinol, or during the day like vitamin C.
I hope you found this helpful, friend!
What are the steps in your morning skincare routine?
My Bondi Sands SPF 50 review is long overdue and you know I hate to gatekeep reviews!
The first time I saw the Bondi sands fragrance-free daily sunscreen lotion SPF 50 was on TikTok by another skincare blogger and I made a mental note to try it.
What caught my attention was the positive review and the size. I believe I’m at the stage of getting sunscreens that are bigger than 50 ml except if it was a PR package. My reason is that sunscreens are expensive, especially in Nigeria. If I’m buying a big size at a certain cost, then it’s actually affordable over a long period of time since I don’t have to restock often compared to a small size.
Bondi sands SPF 50 Review
Background
When I was doing my research for this product, I found out that Bondi sands is an Australian brand that not only has skincare products but suncare and self-tan products.
Australian sunscreen has great regulations because of the intense sunshine, so it’s a good option for sun protection.
Packaging
The sunscreen comes in a white tube with gold details. I love the simple yet effective look. It has a cap that is flipped and seals tightly to that prevent spillage. The fact that this product pack is opaque but I can still see where the product line is under the light, is amazing!
Size
150 ml or 5.07 fl. oz.
Protection capacity
The Bondi sands SPF 50+ is a broad-spectrum sunscreen meaning 8utv takes care of UVA and UVB rays.
Type of sunscreen
It is an organic/ chemical sunscreen as it contains chemical filters: Homosalate, Avobenzone, Octocrylene, and Octyl salicylate. among others.
It has a creamy lotion consistency and is white in color. The texture is interesting because it appears lightweight but you may feel it’s too thick when you apply it on your face. Once you work it in, it absorbs easily and doesn’t require up to 5 minutes to blend in well. That’s usually the same experience for most chemical sunscreens.
Claims/ ingredients
Bondi sands has some tried and tested claims. According to their website:
“It provides UVA and UVB protection with a water-resistant formula which is fast-absorbing and dries to an invisible finish”.
It also claims to “deliver up to 72 hours of hydration with added aloe vera and vitamin E which leaves the skin deeply moisturized and can be worn under makeup.”
It’s paraben and sulfate free so reef-friendly. It’s also widely claimed that it is suited for dry skin.
Did it deliver on all fronts? Let’s see from my experience.
Reef-friendly / reef-safe describes sunscreens that do not contain octinoxate and oxybenzone which cause coral bleaching.
My experience
My skin type is oily, although I noticed during the rainy season that it was acting like combination skin. Nonetheless, according to the claims I probably shouldn’t have gotten this sunscreen but I went on with it.
In summary, I have a love-hate relationship with this sunscreen because of my skin type. One of the reasons is the finish. The first week I applied it, it felt like something heavy was on my skin. After a while, my skin gradually got used to the layer and it was the only sunscreen I had that didn’t leave a white cast so I kept using it.
Even on days, I didn’t reapply, at night, I would look like someone with face oil.
I noticed it has a chemical sunscreen scent that I can’t quite describe although it has no fragrance. One thing I love about this sunscreen is how non-sticky it is, In addition to that, Bondi sands sunscreen does not leave a white cast.
I did notice that with my face facts hyaluronic cream, my finish was less greasy, but that’s my experience. I have also tried without using a moisturizer and noticed the greasiness was not as pronounced. Nonetheless, it still finds a way to appear.
The Bondi sands spf 50 didn’t cause me to break out and that’s worth mentioning. Another favorite thing about it is the texture which I explained above.
Here’s something else you need to note. My eyes would sting occasionally if I sweat or just randomly after using this sunscreen. It doesn’t happen all the time, but I’ve noticed it a couple of times after use for it to be a coincidence.
It always left my skin feeling moisturized and glowy, but that greasy feeling is hard to shake off for me. Bondi sands SPF 50 actually delivered on its claims of moisturizing even though I never went 72 hours of using it at a stretch (no one should do that actually).
How I used it
I used it AFTER moisturizer during the day. I also used it under makeup i.e sunscreen BEFORE makeup. It was lightweight enough to be used for my makeup routine and I had no problems with that Caroline mentioned in her review.
Pros
Big size and affordable
Leaves a dewy glowy look
Best for the cold season if you live in humid areas
No white cast
Sits well under makeup
Can see the product line and when it is about to be exhausted
Cons
Too greasy for oily skin
Occasionally stings my eyes after application
Where to buy
I got mine from Beautybydaz for #7,650 but it’s currently out of stock. Other online stores are Shop with Teeka, @24eleven on Instagram, and any in the list I have here.
I would rate this a 7/10 because of how it was for my skin type. I stuck to it for some reasons. One was I couldn’t afford to buy another sunscreen then. Another reason was it didn’t leave a white cast and was protecting me nonetheless.
Overall, the Bondi sands daily moisturizing face SPF 50 is a good sunscreen that is best for dry skin. If you do not have dry skin, but would like to give it a go-ahead, by all means, be prepared for a possible greasy outcome.
I may buy this again for the harmattan period. A lot of emphasis on “may”.
Have you tried this sunscreen?
Would you like to try it? Let me know in the comments.
Before leaving, do subscribe to my newsletter to get all the updates from the blog and weekly skincare tips.
Happy new month! It’s safe to say this year has been moving fast and sometimes I wonder what it would have looked like if I was done with school already, but oh well!
Welcome back here! If it’s your first time reading my blog- I do a monthly recap of some of my favorite things aka monthly favorites. The goal is to enjoy things that seem ordinary, but sparked joy or made me enjoy the moments and I hope they inspire you too.
I’ll be recapping September in the following ways:
My favorite memory
Picking a favorite memory wasn’t easy because I had more than one good moment last month. Some of them were:
Getting to do my makeup after I was sick for a few days. It felt therapeutic in a way. That day was also sweet because I finally wore my contacts in less than a minute. I use a prescribed pair for the days I don’t want to wear my glasses. Putting them on myself was always such a chore. It just made me relish how far I’ve come with wearing them myself now.
Getting a notification from WordPress on the blog reaching 10,000 views! Focusing on numbers is not ideal but if I’m being honest, you need the numbers as proof that something is going well (or not) and that felt rewarding for me!
Visiting my friends- I’m part of a group of family friends who attended the same secondary school and we try to stay in touch, especially during the holidays. My friend organized a meetup and I’m glad I didn’t chicken out. That day was beautiful because we were 3 pairs of sisters and bonded over food and lots of talking.
That is not to say September didn’t suck at some point, but I'm getting used to how life can't always be filled with perfect moments.
My biggest challenge
I would say living what I “preached” every day in terms of trusting God in my current season. Last month caught me knee-deep in exhaustion and just wondering when this phase would be over. Earlier this week, I shared something with my newsletter community on waiting.
Sunday was a mess for me and just reminded me of why I did not like being stuck by this whole strike situation. By that same night, I read a mail about waiting.
On Monday I wrote about learning while waiting.
On Tuesday I got another mail about waiting. It was as if God in His providence was reassuring my heart with words of encouragement. My biggest challenge in September (and actually this whole year) has been staying still, but I keep on learning.
I am so proud of myself for…
The blog’s growth! Lately, I have been giving my time and attention to my little baby.
I’m also proud of myself for showing up even when I didn’t feel like it. This is my building season and I’m not ashamed of that! Knowing I have people that care about the things I share here, pushes me to show up even when compensation is taking its precious time.
Speaking of showing up, I have created monthly minimalist and inspirational wallpapers since January, plus a digital book that my mailing list gets.
October’s Monthly Wallpapers shared in the newsletter
[mc4wp_form id=”265″]
I favorited some of the messages, DMs, and emails from people last month. Those made me thankful for how far I’ve come and also for the community I have. You make it worth it, no cap!
PS: If you love words of affirmation as I do, try keeping a praise file. It’s just a collection of messages and encouragement that you can look back at on days you feel overwhelmed. You can also do this for a friend or partner as a gift.
What do I need to let go from September?
I think it would be second-guessing myself when reaching out to brands I want to work with. This month, I intend to just do so anyways. The worst that would happen is getting no or no response. But the best could be getting them- who knows?
What do I want to really happen this month?
I want to create more content and take pictures. I hate that my phone’s storage limits me in terms of the quantity of content I can create at once. Please pray for my camera dream to come true, okay?
Also, I really want to see more of my friends! It’s been so long and I miss wholesome conversations, games, and food.
Favorite Media (TV show, Movie, Book, Song, or Podcast)
My favorite movie last month was Labour Day. It was an unconventional story of a convict, depressed single mother, and her teenage son, that makes you want to be gracious to people no matter their background and I enjoyed it!
Ps-I do not own the rights to this image
This is a new quarter and in the digital space, there’s a lot of motivation to get things done, finish the year well, etc. My friend, life is more nuanced than that and your growth shouldn’t be tied to pressure or metrics.
I pray that you have a good quarter filled with joy, peace, growth, and trust in God.
What was last month like for you? Do you have any plans for the new month or taking it one day at a time?
Almost every time I come across Shekinah’s Whatsapp stories, it’s either she’s experimenting with a new food recipe or sharing a skin care product she just tried out as a skincare enthusiast.
I reached out to her with this idea to share the experiences of other skincare enthusiasts in order to encourage others who are about to start their journey or are already veterans in skincare.
Let’s get into our skincare chat!
Could you introduce yourself?
I’m Shekinah Ambali.
I’ve seen some of your skincare products on Whatsapp and how you talk about them. How did you get started with skincare?
I started during the lockdown in 2020. You know we really had nothing to do around that time and I had the time to notice the texture of my skin, my darker cheeks, and my neck. I didn’t exactly start taking care of my exact skincare issue (hyperpigmentation) until September 2021.
It’s the “time to notice the texture of your skin” for me, lol! Something good came out of that time, yeah?
Yes! I also have a family that is really into skincare, so it started around the same time for all of us too.
That’s actually cool! I remember seeing you praise an aunty once for some skincare products on your status. Was there any product that made you hooked on skincare?
Lol. I know right! The first product that got me hooked on skincare initially was the Niacinamide serum from Dang! Right now, it has to be snail mucin by CosRx.
Some of Shekinah’s Skincare empties
Interesting! Niacinamide is a badass ingredient so that’s understandable. Plus most people are in love with the snail mucin from CosRx. Tell me, what is your skintype and what does your current skincare routine look like?
I have combination skin. For my current skincare routine, I am a huge collector of cleansers! I love to switch them as the spirit leads so I cleanse with either Cosrx’s Low pH good morning cleanse, the Inkeylist’s Fulvic acid brightening cleanser, Cerave’s hydrating cleanser, or Omari’s cleansing powder.
After cleansing, I follow with a toner/ micellar water. Next up is a moisturizer (currently sticking with Simple) I follow that with my snail mucin, serums (niacinamide&vitamin c), and finally any sunscreen of choice. I collect sunscreens too!
Okay, you’re a collector because what is this stash? God when!
All thanks to my older sister.
Perks of having an older sister! Speaking of which, what 3 beauty products can’t you do without?
They would be Snail mucin, AHA/BHA toner, and Niacinamide serum.
That’s interesting. Let’s go back to your skincare routine. What’s the favorite part of your routine?
Moisturizinggg! I try to use products that moisturize my skin more regardless of their ‘special job’ as this just helps me feel good all day long.
The emphasis is deep, but having your skin hydrated is important so I get it. Have you ever had any terrible experience with a product?
No, I haven’t. I like to think I’m God’s favorite child because I barely have a negative skin reaction to any new product I try.
Lucky you for real! If someone starting out their skincare journey meets you today, what would you advise them?
I’ll advise the person to get basic skincare products for starters, and not be swayed by the skincare rave out there. Make sure to use sunscreen always, and most importantly, avoid “organic” skincare products!
Shekinah Ambali is a medical student, business analyst, skincare enthusiast, and foodie. Check her Instagram for more!
Getting started with makeup is one thing while learning how to clean your makeup brushes is another. I never thought I would be doing my makeup to a large extent so while I’m excited about it, I also love my skin a lot and like clean things to make contact with it.
Did you know that a silent culprit for triggering acne could be your makeup brushes? One good skin care tip is to use clean makeup brushes so let me share how I wash mine with you!
If you’re tired of seeing your brushes look the same or not satisfactorily clean, try cleaning them with a silicone mat. But first, let’s talk about the benefits of cleaning your makeup brushes.
Why You should clean your makeup brushes
Spending good money on a skincare routine and topping it up with dirty brushes is counterproductive. Here are some reasons I’ve found why it is important to clean makeup brushes.
Before washing with a silicone matAfter washing with a silicone mat
To Reduce breakouts and skin irritation
After using your makeup brushes, the product residue comes in contact with the air, dust, and bacteria. They become stiff with the caked-up makeup and can irritate your skin or clog your pores leading to breakouts. Washing your makeup brushes often keeps them soft and prevents irritation of your skin.
Clean makeup brushes apply makeup better
When your brushes are not flexible, it’s more difficult to apply your makeup. I don’t think I can get used to how my makeup looks better when I apply it with clean brushes. It makes sense because clean brushes or beauty blenders allow for proper blending of your foundation or concealer and overall a better look compared to when you use a dirty brush.
Also when there is makeup residue on your brushes, it makes it harder for the brushes to pick the actual color of your product hence giving a not-so-good appearance. Hence cleaning your makeup brushes makes it easier to achieve a flawless look.
Cleaning your makeup brushes makes them last longer
Buying any quality makeup product or brush is an investment and you want to take care of your investment. If you’re spending good money on these brushes, then they deserve some love. Don’t let your money waste by cleaning your brushes as often as possible.
Dirty makeup brushes contaminate your makeup products
Imagine dipping your uncleaned brush into your favorite makeup product e.g your eyeshadow palette and introducing dirt and bacteria into it.
Not only does the bacteria have more chances of multiplying in the product, but it would also predispose you to infections and breakouts.
How often should you clean your makeup brush?
A lot of people have different schools of thought on this. When I put up on my IG polls, my community had varying answers. Some said once a week, biweekly, a friend even told me she does hers after every application. I would say it depends on your frequency. If you’re a professional makeup artist or use makeup regularly, it is recommended you wash after each use.
Most dermatologists recommend it at least once every 2 weeks. I do the same because I barely use makeup now that I’m home. If I plan to use my makeup for filming content or for church on Sundays, I wash it a day or two before use.
Please, pick what works for you, but make sure it’s something you can do and be flexible with. The goal is to clean your makeup brushes often.
How to clean makeup brushes effectively
Now to the fun part, finally! Here’s a step-by-step process I use to wash my brushes with a silicone mat. Ever since I started this, I have been hooked!
Stuff you need:
Brush cleaner- I use liquid dish soap. You can use a shampoo or that cleanser you don’t like on your skin.
Lukewarm water
A silicone mat
Ps- Don’t use a silicone mat for beauty blenders because it would snag them.
Steps
Step 1- Wet your mat and place it in a sink
Step 2- Insert your brush into the liquid soap
Step 3- Rub against the mat until you see it looks cleaner
Step 4- Run the brush under clean water
Step 5- Repeat the process for as long as you want until satisfied
Step 6- Do the same for all your brushes
Step 7- Assemble all the clean wet brushes and leave them under the sun to air dry
For your beauty blenders; Soak them in the liquid soap and water mixture for about 10 minutes and rinse off continuously till you’re satisfied.
Pro Tip- Clean your makeup bag too once in a while.
Where to buy
You can get a silicon mat from any makeup shop, but I got mine from @jay__vogue on IG for 1000 naira ($2).
FAQS
Here’s where I answer some questions you might have about makeup and cleaning your brushes:
Can makeup cause you to have acne?
No, this is a myth. Makeup doesn’t cause acne. Using dirty brushes can increase breakouts or irritate your skin, but makeup inherently doesn’t. If the makeup is expired, then it could also cause breakouts. Sleeping with makeup can clog your pores and eventually cause breakouts too.
What soap can I use to wash my brushes?
I use liquid dish soap to wash my makeup brushes. Other good options are sulfate-free shampoos and facial cleansers. You can even use bar soap, but I think that may be inconvenient. Please don’t use detergents as they may leave residues on the brushes.
Can I use hot water to wash my brushes?
No, please. Use lukewarm or cool water to wash makeup brushes. Hot water affects the bonding between your handles and the bristles which reduces the shelf life of your brushes and makes them shed.
Can I use a heat dryer to dry my makeup brushes?
Your makeup brushes are best air-dried. I like to put mine outside on a sunny day or just leave them in an airy place. Make sure to keep an eye out for rain so you don’t end up like me who spent 2 days drying her brushes.
When is it time to get new brushes?
Once you notice that your brushes are shedding and have lost shape.
Do you clean your makeup brushes? Was this helpful? Let me know in the comments!
Thank you for getting to this point! If you found this post helpful, check out these related posts:
The k-beauty (Korean beauty) rave is not for nothing guys! They usually have tons of effective and gentle skincare products like the Beauty of Joseon essence water. I currently have 2 k-beauty cleansers for my morning and nighttime routines and thought I should do a comparison since I have used them for about a month now.
As much as your routine should be suited to your personal taste, a cleanser is non-negotiable for healthy skin. What’s interesting is that cleansing is the most essential step but it’s usually overlooked or seen as boring. If cleansing is not done correctly, it can compromise the skin barrier.
Cleansers are used to remove dirt and makeup on your skin. I recommend using a gentle cleanser that doesn’t strip your skin or cause irritation. That’s the reason I’m sharing my experience with these k-beauty cleansers so if they are something you want to try out, you can get an honest opinion about them first.
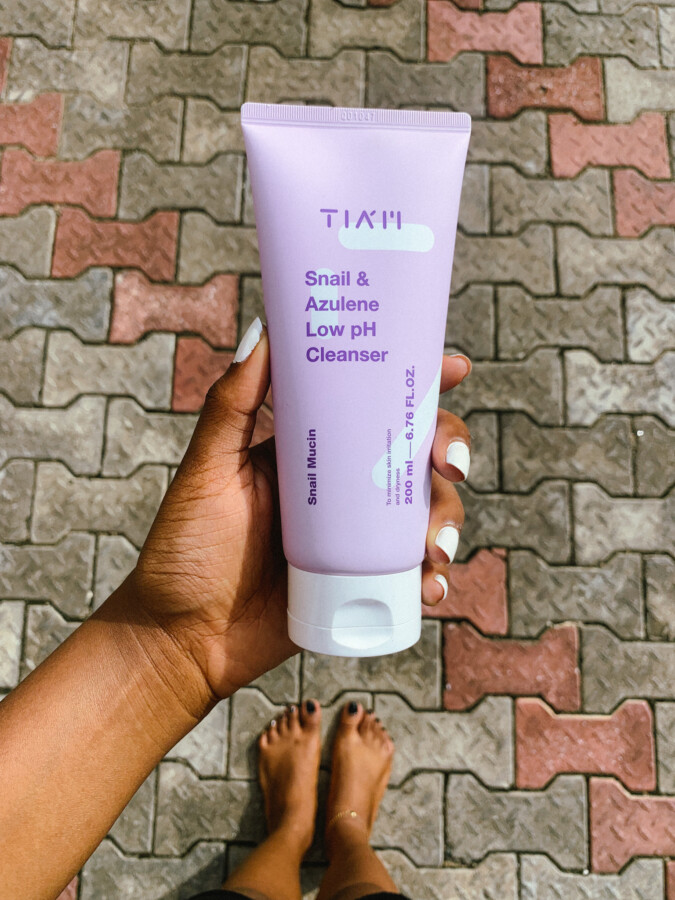
The Tiam Snail and Azulene Low pH Cleanser Review
Description
This cleanser is from the popular TIAM brand and just like most Korean beauty products, it is gentle and packed with good ingredients.
It comes in a 200ml purple tube with a white cap that has a nozzle to dispense the product. You have to ensure it’s sealed properly to avoid spillage.
The Tiam cleanser has a transparent look and is gel-like in texture (a gel cleanser). It has a mild fragrance I can’t describe but it’s almost not noticeable.
Claims/ Ingredients
This k-beauty cleanser claims to be moisturizing and rids the skin of dirt and impurities without stripping it.
Snail secretion filtrate (7%)– this is a soothing ingredient that is rich in hyaluronic acid and keeps the skin moisturized and supple.
Allantoin– Protects and soothes the skin
Panthenol– Acts as a humectant
My experience
Now to the “meat of the matter”. I have enjoyed using this cleanser! My sister and now my mum are hooked on it as a result, and we have different skin types so that is a testament to its properties. The Tiam snail and azulene low pH cleanser has a pH of 5.5 so it doesn’t disrupt your face’s pH as much which is a good property for any cleanser.
I also like that it has its directions in English at the back of the tube. After cleansing, there was no tightness or irritation noticed and I found this blogger who shares the same experience even from the previous version of the cleanser. On two occasions, it stung my eyes, but I’ve just been making sure I don’t open my eyes when I use it.
How I used it
This cleanser was my morning and evening cleanser for a while before I got the Frudia cleanser I would review next. Now it’s my nighttime cleanser. I apply it to my wet face and massage it outwards before rinsing. After that, I carry on with the rest of my routine.
Pros
Gentle on the skin
Good for sensitive skin because of its low pH
Really affordable- 200ml for 4500-6000 naira depending on the vendor.
Improves the overall appearance of the skin thanks to its ingredients.
Cons
I can’t fault this product but if I had to give any con it would be how easily the cap moves which can be messy if not sealed properly.
Where to Shop
I got on Beauty by Daz for 4,950 naira, but you can get it from any of the stores here
Apply your cleanser in circular motions and outwards as that helps massage the skin and circulates blood flow.
Sign up for more skincare tips and blog updates:
[mc4wp_form id=”265″]
The Frudia Citrus Brightening Micro Cleansing Foam Review
Description
Frudiais another k-beauty brand I didn’t know about till I started looking for another cleanser to add to my stash. They have a wide range of variants and use fruits as a distinguishing mark. In this case, mine is citrus.
I love their characteristic bright packaging. This cleanser comes in a bright yellow 145ml pack similar to TIAM’s snail cleanser- just the color difference.
The cleanser has a white look and is creamy in texture. The pack says it contains microbeads so that’s worth knowing. It also has a citrusy fragrance.
claims/ ingredients
The Frudia cleanser claims to be brightening as it contains Jeju citrus peel, naturally occurring vitamin C, and a combination of fruit oils like mango, apricot, grape, and grapefruit. It’s also said to be brightening and refreshing.
I wasn’t expecting that texture! It is so creamy and I thought it was a moisturizer I bought, lol. After noticing that it lathers well, I started using a dime-sized amount. The fragrance is my favorite thing about this cleanser as it smells like oranges.
On the first day I used it, it felt dry. Although I attributed that to the quantity and adjusted it in subsequent uses. So far, it still pales in comparison to the TIAM one in terms of how non-stripping the latter is.
One thing I noticed is that it leaves my skin “feeling” clean and looking for moisture. I’ve also been using it almost daily as part of my morning routine but sometimes I alternate between the TIAM one because of that “drying” feel this gives me.
How I used it
This cleanser is relegated to my morning routine as I focus on hydrating my skin during the day. That’s how I’ve been able to use the cleanser.
Pros
Has good cleaning properties
Pretty affordable- 145ml for less than 5000 naira on most sites.
Cons
Can be drying
It may not be suitable for daily use depending on your skin type
It may not be suitable for sensitive skin because of the microbeads
These k-beauty cleansers are worth trying but from my experience, I would definitely be repurchasing the TIAM one but not this FRUDIA variant.
FAQs contains bonus tips for you, my skincare bestie!
Cleansing Frequently Asked Questions (FAQs)
What does a cleanser do?
A cleanser or face wash is the first item in a skincare routine that basically rids your skin of dirt and impurities from exposure.
How often should I use it?
Ideally twice a day. Morning and night. Some estheticians and beauty influencers say once for sensitive skin but I’m yet to be part of that camp.
What type should I get?
There are different types of cleansers I would delve into in detail in another blog post. Cleansers come in different forms, but the one you should get is based on your skin concerns or skin type as well as the ingredients. This reel by one of my favorite skin influencers explains the different cleansers for skin types.
I promise, this was a failed model face attempt. I’m usually smiling!
Can we talk about how much effort we put into our face skincare routine and forget that of our body? Granted, a body skincare routine sounds like more work, but the skin below your neck is not immune to dullness and other skin concerns.
Skincare for the face is usually the first thing that pops up in our minds when we think of skincare. My journey with being intentional about my body skincare led me to create a stress-free routine because this body needs to glow too, okay? Plus what shall it profit you to have a glowy healthy face and dry neglected body skin?
Let’s get into my current body care routine and hopefully you’re inspired to take yours seriously too.
My Simple Body Skincare Routine
Cleanse
This is similar to your face skincare routine and is very crucial. You do not want to work on a dirty canvas. Good body care begins from the shower.
I use the St Ives Oat meal & shea butter body wash, and it’s been enjoyable.
I got this at a local supermarket.
While it is tempting to go for the cheapest bar soap since it’s just the “body”, please look out for moisturizing soaps/ washes.
Ingredients like ceramides, olive, shea butter, etc, are some of the stuff to look out for in your body wash according to a board-certified dermatologist and author Debra Jaliman.
Watch out for ingredients like alcohol as they dry out the skin and remember you don’t want to dry out your body skin.
While I would always be the girl to buy body washes for their smell, I’m learning to look for those that can help solve body issues. I battle with back-acne and body washes containing ingredients like benzoyl peroxide or salicylic acid, would be a good fit. If you’re dry skin, then look out for words like “hydrating” on the body cleanser.
Ps- Feel free to use bar soaps like the ones from Dove for instance. I’m writing this as someone who is currently using a liquid body cleanser, so that’s not the only option
Save on Pinterest
Exfoliate
This is one step that has changed how my body skin feels and looks lately.
Our body skin can tolerate exfoliation a bit more than the facial skin because it’s tougher. You still have to be wary of over-doing it anyways so as to not damage the outermost layer of your skin hence, exfoliate moderately.
You have two options for exfoliating your body- using a tool or scrubs.
I use a tool which is the exfoliating gloves. My exfoliation is 1-2 times a week and also don’t apply a lot of friction. After doing so, my body feels softer and it helps give a smooth appearance.
If you prefer a scrub, massage it gently on your body and focus on problem areas like the heels, knees and elbows that tend to look rougher than the rest of your skin.
NB- Exfoliating means sloughing off dead skin. This helps your skin feel soft and maintains your skin barrier.
Moisturize
The next step in my body routine is to moisturize. This is where you use body lotion. For as long as I can remember, my mum consciously instilled moisturizing our bodies as a habit for my siblings and me.
The difference now is I’m learning to not just moisturize, but to do it better. For my body lotions, I tend to go for hydrating or moisturizing tags.
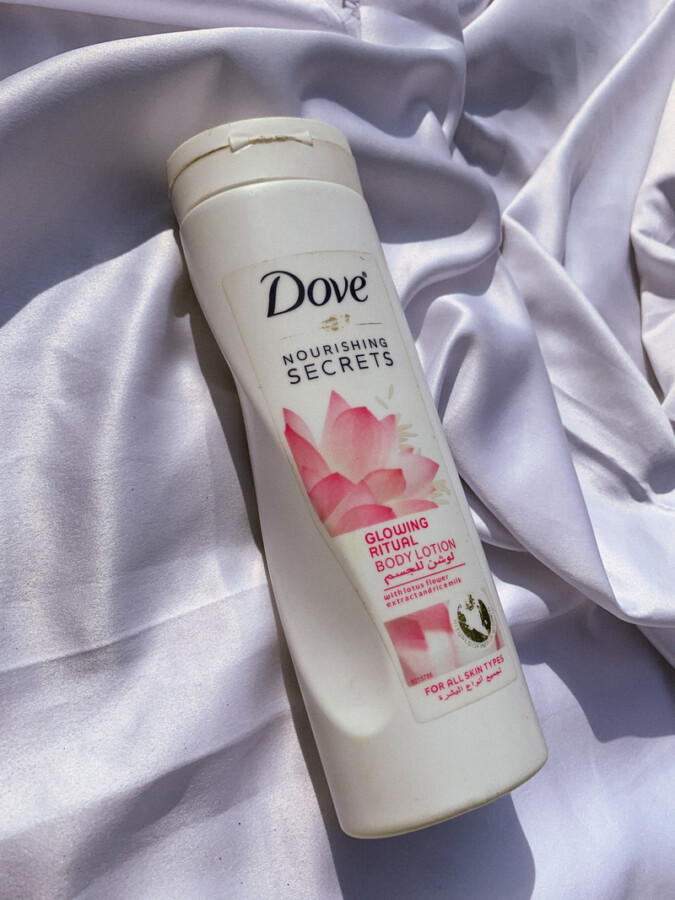
Currently, the dove body glow lotion is my body moisturizer. A tip I learned from Tiktok is to apply the lotion on damp skin.
My Current Body Lotion– I got this from a local supermarket as well.
Why? Because moisturizing immediately after a shower helps lock in some of the moisture on the skin thus keeping your body feeling hydrated. Apply the lotion over your whole body from below your neck to your toes and wait for a while to let it absorb before putting on your clothes.
***Grab the FREE Skincare guide for Beginners when you sign up on the mailing list.
Seal
After moisturizing, I like to seal it with body butter or body oil. Feel free to use the og Vaseline.
When I was younger, I used olive oil as my body “cream” for a long time. From about 14 years to my 2nd year in med school. I remember vividly because it was the only thing that didn’t irritate my skin after I had chicken pox.
Thankfully my mom let me explore it so far as I wasn’t looking “ashy”. That was how I discovered that body oils were a thing.
Currently, my sealant is a DIY body butter from Torera George, which helps me seal in the moisture from my body lotion. If I’m rushing somewhere and can’t apply the butter on my whole body, I use the R&R luxury body butter balm especially on my feet and elbows.
Texture shot of the DIY body butter I made.
Skincare should be flexible, so don’t beat yourself up.
When the weather is hot, I just use the lotion and move about my day. Other than that, using a body butter or body oil after the lotion gives an extra layer of glow and protection your body needs.
Fragrance
My body routine is not complete without smelling good. While my perfumes change and I’m not crazy about names, so far as they smell great, a deodorant is non-negotiable!
Currently, I’ve been enjoying the Dove go fresh orange variant. This deodorant spray keeps my underarms dry and I can still smell it by evening long after spraying it.
It’s worth the hype.
Body Spf
Last but not the least is applying SPF on exposed parts of my body. It’s tempting to think that SPF is only for the face. Plus the cost of sunscreen can be discouraging.
One thing I do is convert the mineral sunscreen that leaves a white cast on my face to a body SPF. You just have to blend a bit more.
If I’m wearing shorts, I focus on the exposed part of my legs and even my feet. Don’t forget the hands too.
When at home, I don’t bother applying SPF on my body, until I need to leave the house. This is one way to prevent the different shades of skin you may notice on exposed parts of your body if you’re constantly out.
Summary of my routine
Cleanse ~ Exfoliate (1-2 times a week) ~ Moisturize ~ Seal ~ SPF
Extra Body Care Tips
Please don’t walk barefooted except you have rugs covering your floor. If you don’t like the feel of slippers, I recommend comfortable cotton socks to protect your feet.
Skip the scorching water.
Make sure that your shower water is cold or lukewarm- not hot. This one’s hard especially in cold seasons, but hot water can be damaging to your skin. Some of the benefits of using cold water on your skin are:
It improves retention of your natural oils to avoid drying out of your skin.
It tightens your pores so your skin feels firmer.
If you found this post helpful, check out these related posts: